
|
Do it yourself
| |||
| ||||


Volkswagen Bora - Headlight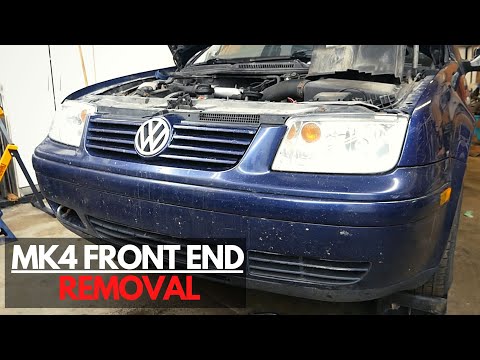 Volkswagen Bora (1998-2005 / MK 6)
How to remove the headlights on the Volkswagen Bora - Jetta In today's video we will see the main steps to remove the headlights and the front bumper on the Volkswagen Bora, but also on the Jetta of the same series. …read all… Posted on 28 February 2024 by ScegliAuto 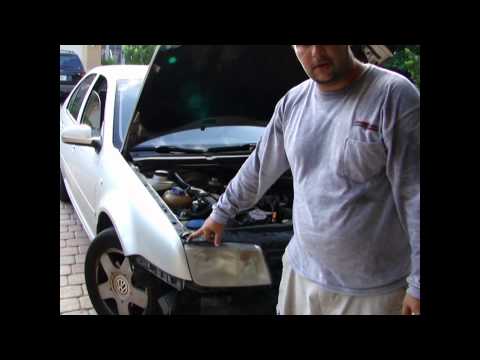 Volkswagen Bora (1998-2005 / MK 6)
Headlight glass replacement instructions If the headlights appear particularly yellowed and dull, you can always try to regenerate them with a particular polishing or painting; but if they are badly …read all… Posted on 15 August 2023 by ScegliAuto 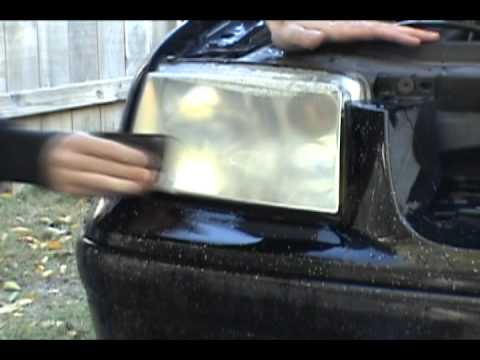 Volkswagen Bora (1998-2005 / MK 6)
Polishing of the opaque glass of the headlight If the headlight glass becomes opaque to avoid the replacement of the entire unit, it is possible to polish the glass making it as good as new. The 3M cleaning …read all… Posted on 17 July 2023 by ScegliAuto  Volkswagen Bora (1998-2005 / MK 6)
Polishing of the opaque glass of the headlight If the glass of the headlight becomes opaque to avoid the replacement of the entire complex, it is possible to polish the glass for the job. A drill equipped …read all… Posted on 11 July 2023 by ScegliAuto  Volkswagen Bora (1998-2005 / MK 6)
Headlight replacement with day light Open the front hood and disengage the bezel by disconnecting the hood release tab. Remove the front bumper and the wheel arches: at this point it is possible …read all… Posted on 10 July 2023 by ScegliAuto  Volkswagen Bora (1998-2005 / MK 6)
Removing the front headlight for replacement Open the bonnet and use a screwdriver to pry the upper hole of the front panel to release it, subsequently removing the other fasteners as well. Unscrew the …read all… Posted on 23 June 2023 by ScegliAuto Alternator (1) Shock absorbers (2) Antenna (2) Air conditioning (1) Coil (1) Air Vents (1) Arm (1) Grille (1) Glow plugs (1) Bodywork (2) Control unit (1) Timing belt (2) -board computer (1) Checks and maintenance (2) Bearing (1) Headlight (6) Air filter (1) Cabin air filter (2) Petrol filter (2) Diesel filter (2) Accessory Kit (1) Light bulb (1) Rear light bulb (2) Interior lights ceiling light bulb (1) Antifreeze liquid (2) Handle (1) Engine (1) Window motor (1) Door panel (3) Front bumper (1) Brake pads (3) Pump (2) Door (1) Push button (1) Window lift button (1) Instrument cluster (1) Radiator (1) Fuse box (2) Drive shaft (1) Coolant temperature sensor (1) Outside rearview mirror (2) Windscreen wipers (3) Thermostat (5) Central tunnel (1) Valve (2) EGR valve (2) Interior blower (1) Side window (1) |
How do you adjust the clutch cable on the Kia Picanto?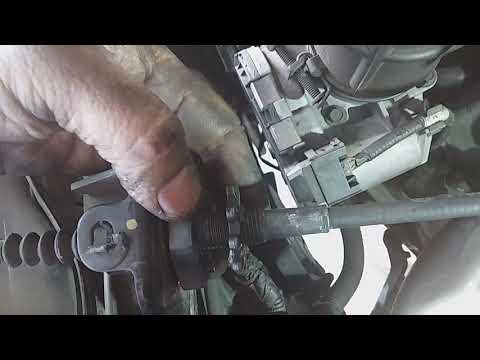
To be able to adjust the clutch cable of the Kia Picanto you need to open the hood so that you have access to the components inside the engine compartment: in order to reach the cable you will need to remove some components on the right side, such as the battery and the air filter. Below them you will find the clutch cable, which will have to be adjusted by screwing or loosening the bolt placed at the end of the cable. This will make the pedal harder or softer; after the adjustment, it will be possible to assemble all the components by closing the hood. by ScegliAuto More videos
|
|
For advertising on this site Write to info@scegliauto.com
ScegliAuto is not responsible for any inaccuracy of the data in the lists. To report any inaccuracy or your business (if you own the business in question), please write to info@scegliauto.com
Number of seconds to generate the page: 0.005
(c) ScegliAuto 2024 - info@scegliauto.com - Privacy Policy VAT number: IT01247470535 |