
|
Do it yourself
| |||
| ||||


Timing Chain Issue on VW Golf V
Model: Volkswagen Golf
MK 5, Golf 5, Golf V
- Years 2003-2008
Choosing an engine with a timing chain is always a good choice as it does not require as much maintenance as the rubber belt. However, if you neglect oil change maintenance or strictly adhere to the long-life programme set by the manufacturer, it may happen that the chain stretches to the point where the tensioner can no longer keep it taut, resulting in a malfunction of the variable valve timing and a loss of synchronisation between pistons and valves, potentially leading to a collision between them. However, an initial stretch of the chain immediately translates into noise, and you can intervene promptly by replacing it.
Updated on 20 February 2026 by ScegliAuto
Video tutorial
Related tutorials
Volkswagen Golf
(2003-2008 /
MK 5, Golf 5, Golf V)
In this video, we hear the noise of the timing chain of a Volkswagen Golf 1.4 TSI 122 hp with 100,000 km. The noise was produced when cold and lasted…
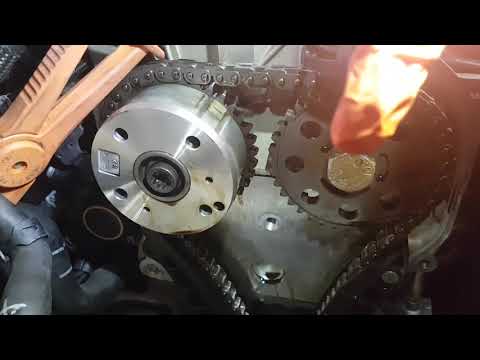
Volkswagen Golf
(2003-2008 /
MK 5, Golf 5, Golf V)
To replace the timing chain on a Volkswagen Golf 1.4 TSI, remove the side covers and any obstructing parts that prevent access to the pulleys and the…
Volkswagen Golf
(2008-2012 /
MK 6, Golf VI, Golf 6, 5K1)
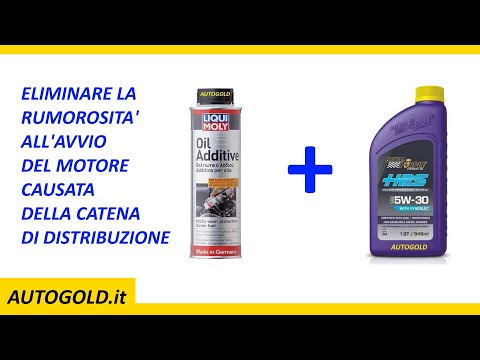
In this video, we see how the noise issue at startup from the timing chain of the Volkswagen Golf VI 1.4 TSI 122 hp was resolved. This was achieved u…
Other guides you may be interested in
|
How to Replace the External Wing Mirror on a Ford C MAX
In the event of a breakage, it will be necessary to replace the external wing mirror on the 2011 Ford C MAX. This operation is easily performed independently. Start by removing the internal cover of the mirror with a plastic lever. Then, use a socket wrench to remove the securing pins. Once the pins are removed, you can take off the mirror, but not before disconnecting the power connectors. Then proceed to fit the new mirror. First, connect the connectors and then secure the mirror to its housing with the pins. Refit the plastic cover and test the operation of the electric mirror using the controls. by ScegliAuto More videos
|
|
For advertising on this site Write to info@scegliauto.com
ScegliAuto is not responsible for any inaccuracy of the data in the lists. To report any inaccuracy or your business (if you own the business in question), please write to info@scegliauto.com
Number of seconds to generate the page: 0.084
(c) ScegliAuto 2026 - info@scegliauto.com - Privacy policy VAT number: IT01247470535 |
