
|
Do it yourself
| |||
| ||||


Where to Locate the VIN of the Volkswagen Polo 6N and Other Useful Reference Numbers
Model: Volkswagen Polo
MK III, Polo III, Polo 3, MK 3, 6N
- Years 1994-2003
In this video, you will see where to locate the VIN (Vehicle Identification Number) and other useful numbers on a Volkswagen Polo 6N. First, the YouTuber shows the plate on the left side of the windscreen, which is only a courtesy plate. Opening the bonnet, you will find a second plate where the chassis number is repeated, along with the weights of the vehicle when empty, fully loaded, and the weights of the front and rear axles. This data is also repeated in the vehicle registration document. In a sort of window located under the grille at the base of the windscreen, you will find the true legal chassis number, stamped on the vehicle's frame, starting with WVW and consisting of 17 digits. Finally, in the boot of the vehicle, there is a sticker that indicates "colour", which is the code for the exterior body colour, and "trim", which refers to the upholstery colour.
Updated on 16 September 2026 by ScegliAuto
Video tutorial
Related tutorials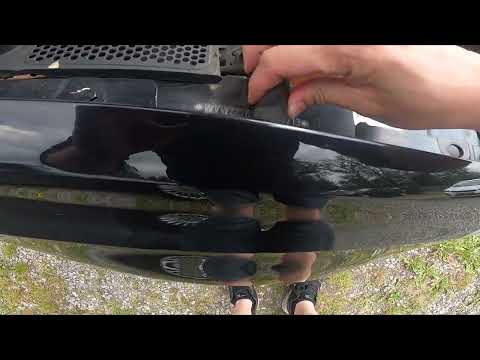
Volkswagen Polo
(2009-2017 /
Polo 5, Polo V, MK 5, MK V, 6R)
To locate the legal frame number of a Volkswagen Polo Mk5, note that the number found on the plate at the bottom of the windscreen in front of the dr…

Volkswagen Polo
(2009-2017 /
Polo 5, Polo V, MK 5, MK V, 6R)
In this brief guide, we will see where to find the chassis and engine identification numbers of the Volkswagen Polo, in simple steps. First, open the…
Volkswagen Polo
(2001-2009 /
MK IV, Polo IV, Polo 4, MK 4, 9N)
Let's see where to locate the "legal" chassis number on the Volkswagen Polo Fox. The chassis number that the authorities or police want to see during…
Other guides you may be interested in
|
Frequently Asked QuestionsHow to Replace the External Wing Mirror on a Ford C MAX
In the event of a breakage, it will be necessary to replace the external wing mirror on the 2011 Ford C MAX. This operation is easily performed independently. Start by removing the internal cover of the mirror with a plastic lever. Then, use a socket wrench to remove the securing pins. Once the pins are removed, you can take off the mirror, but not before disconnecting the power connectors. Then proceed to fit the new mirror. First, connect the connectors and then secure the mirror to its housing with the pins. Refit the plastic cover and test the operation of the electric mirror using the controls. by ScegliAuto More videos
|
|
For advertising on this site Write to info@scegliauto.com
ScegliAuto is not responsible for any inaccuracy of the data in the lists. To report any inaccuracy or your business (if you own the business in question), please write to info@scegliauto.com
Number of seconds to generate the page: 0.271
(c) ScegliAuto 2026 - info@scegliauto.com - Privacy policy VAT number: IT01247470535 |
