
|
Do it yourself
| |||
| ||||


How to disassemble the front headlight of a Volkswagen Beetle?
Model: Volkswagen Maggiolino
MK 2
- Years 2011-2019
To remove the front headlight of a Volkswagen Beetle, start by opening the hood to access the back of the headlight. Find the spring clip or fastening screw located near the headlight. Use a screwdriver or appropriate wrench to loosen and remove the fastening screw. Once removed, gently pull the headlight outwards. You may need to move it around a bit to completely detach it from the support. Pay attention to the electrical connectors connected to the headlight. Carefully disconnect these connectors by pressing the tabs and gently pulling them apart. Now the headlight should be free to be completely removed from the vehicle. During the procedure, make sure not to damage the electrical cables or the bodywork. If you encounter resistance, check that all screws and fasteners have been properly removed. Once the headlight is removed, you can perform the necessary maintenance or replace it with a new headlight.
Posted on 18 May 2024 by ScegliAuto
Video tutorial
Related tutorials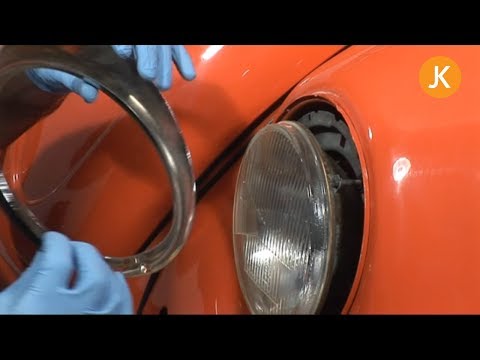
Volkswagen Maggiolino
(1938-1980 /
MK 1)
In this video tutorial, you will learn how to remove the front headlight and optionally replace the bulb of a Volkswagen Beetle (old-style). First, r…

Volkswagen Maggiolino
(1938-1980 /
MK 1)
To remove the front headlight of a Volkswagen Beetle, you must follow some steps. Start by removing the headlight frame by unscrewing the fixing scre…
Volkswagen Maggiolino
(1938-1980 /
MK 1)
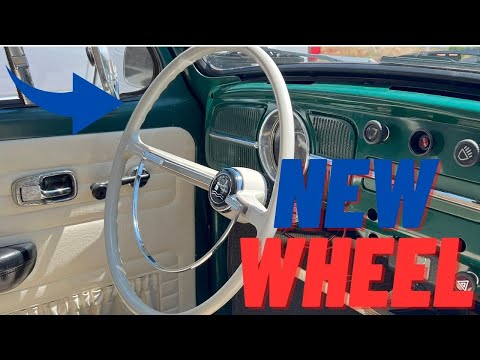
To disassemble the steering wheel of a Volkswagen Beetle, start by unhooking and removing the horn button, which is usually located in the center of …
Other guides you may be interested in
|
How to Reset the Tyre Pressure Light on the Opel Grandland X
While driving, if you notice the tyre pressure warning light coming on, first check the actual inflation pressure of the tyres and, if necessary, restore the pressures recommended by the manufacturer. After restoring the correct pressures, you need to reset the warning light that has illuminated on the instrument cluster. To do this, locate the reset button on the lower central console. Press this button and hold it down for at least 3 seconds, after which the low pressure indication will turn off. by ScegliAuto More videos
|
|
For advertising on this site Write to info@scegliauto.com
ScegliAuto is not responsible for any inaccuracy of the data in the lists. To report any inaccuracy or your business (if you own the business in question), please write to info@scegliauto.com
Number of seconds to generate the page: 0.097
(c) ScegliAuto 2026 - info@scegliauto.com - Privacy policy VAT number: IT01247470535 |
