
|
Do it yourself
| |||
| ||||


Replacement of the Heating Radiator
Model: Volvo V70
MK 1
- Years 1996-2000
The cabin heating radiator is located at the rear of the centre tunnel. First, remove the cover located just below the light switch by disconnecting the connector attached to the courtesy light. Next, remove the carpet side covering of the centre tunnel on the driver's side, and the plastic panel for protection: at this point, the internal radiator will be visible. Now move on to removing the glove compartment from the passenger side, taking out both the inner drawer and the door; also remove the side carpet covering of the tunnel and the plastic cover. At this point, unscrew the fixing screws of the internal radiator from both the passenger and driver sides. Now you can extract the radiator from the passenger side (some water may spill out) and replace it with the new one, applying the thermal insulating gasket along the edges. Then apply the new O-rings to the ends of the pipes and position the new radiator, securing it with the respective screws and reassembling everything that was previously removed. Finally, check the coolant level.
Updated on 4 February 2026 by ScegliAuto
Video tutorial
Related tutorials
Volvo V70
(1996-2000 /
MK 1)
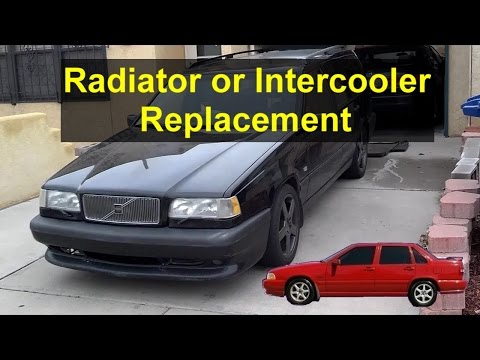
Remove the plastic covering from the dashboard under the steering wheel and at the side of the centre console using appropriate plastic or metal leve…
Volvo V70
(1996-2000 /
MK 1)
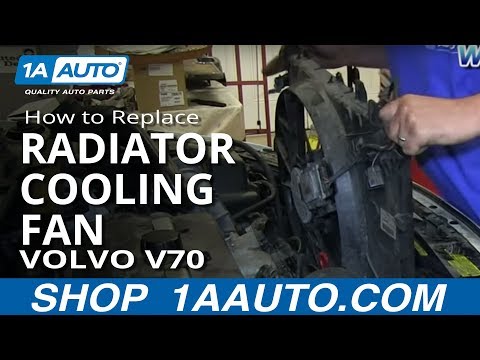
Let's look at replacing the radiator on a Volvo V70. Open the bonnet, detach the engine soundproofing panel; remove the plates that secure the radiat…
Volvo V70
(2000-2007 /
MK 2)
Before beginning, open the bonnet of your Volvo V70. Start by unclipping and removing the air filter hose connected to the fan. After this, disconnec…
Other guides you may be interested in
|
How to Check the Oil Level on a Jeep Renegade?
To check the oil level on a Jeep Renegade, you need to open the bonnet to access the components inside the engine bay: on the lower left side of the engine block, you will find the dipstick for checking the level. This should be pulled out and thoroughly cleaned with a cloth: once cleaned, reinsert it back into its tube and pull it out immediately after. This way, you can check that the oil mark is between the minimum and maximum levels; finally, you can place the dipstick back in its tube. by ScegliAuto More videos
|
|
For advertising on this site Write to info@scegliauto.com
ScegliAuto is not responsible for any inaccuracy of the data in the lists. To report any inaccuracy or your business (if you own the business in question), please write to info@scegliauto.com
Number of seconds to generate the page: 0.062
(c) ScegliAuto 2026 - info@scegliauto.com - Privacy policy VAT number: IT01247470535 |
