
|
Do it yourself
| |||
| ||||


|
This video demonstrates the installation of rock sliders on the lower sides of a Volvo S60. After presenting the necessary parts and tools for the job, the video recommends thoroughly cleaning the areas of the bodywork where you will be working. Position the vehicle on jack stands. After measuring approximately 9 in from the edge of the body, make a small, light mark as a guide, and position the first bracket; secure it with tape. Position the second bracket (next to the first) and secure it with tape as well. Using a drill with a 5 mm bit, make holes at the indicated points and then insert the supplied rivets. There are a total of 10 holes for each side and an equal number of rivets to install. Now remove the tape and take the rock slider panel (in this case, the left one, marked with the designation "LH" LEFT HAND). After positioning the panel as indicated, install the seven clip fasteners to secure the panel. Now, using the drill (5 mm bit), make holes corresponding to the panel's holes and apply the rivets here as well. Using a plastic tip, remove the adhesive tape covering that secures the rock slider panel. Apply some pressure to ensure it adheres well to the body.
Updated on 5 February 2026 by ScegliAuto
This video is currently unavailable
Related tutorials
Volvo S60
(2000-2009 /
MK 1)
To replace the heater core in the Volvo S60, remove the side cover of the footwell located on the driver's side. This will provide access to the comp…
Volvo S60
(2010-2018 /
MK 2)
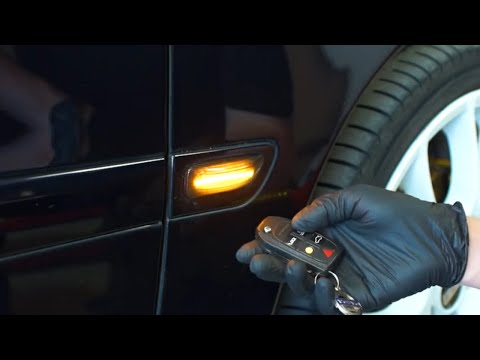
If one or both of the side turn signals on your Volvo S60 are not functioning properly and you want to replace them, just follow this procedure. Firs…
Volvo S60
(2000-2009 /
MK 1)
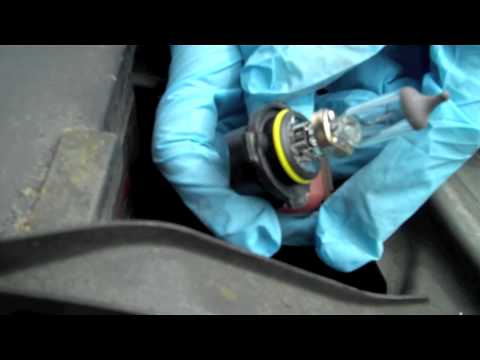
This video illustrates the procedures for replacing the front light bulbs and brake light bulbs. These procedures will be used for Volvo S60, Toyota …
Other guides you may be interested in
|
How to Check the Oil Level on a Jeep Renegade?
To check the oil level on a Jeep Renegade, you need to open the bonnet to access the components inside the engine bay: on the lower left side of the engine block, you will find the dipstick for checking the level. This should be pulled out and thoroughly cleaned with a cloth: once cleaned, reinsert it back into its tube and pull it out immediately after. This way, you can check that the oil mark is between the minimum and maximum levels; finally, you can place the dipstick back in its tube. by ScegliAuto More videos
|

|
For advertising on this site Write to info@scegliauto.com
ScegliAuto is not responsible for any inaccuracy of the data in the lists. To report any inaccuracy or your business (if you own the business in question), please write to info@scegliauto.com
Number of seconds to generate the page: 0.205
(c) ScegliAuto 2026 - info@scegliauto.com - Privacy policy VAT number: IT01247470535 |
