
|
Do it yourself
| |||
| ||||


How to Remove the Mirror from a Volvo S60 / V60
Model: Volvo S60
MK 2
- Years 2010-2018
To remove the mirror from the Volvo S60 / V60 (the removal process is the same for both), you will need a Torx T25 wrench, a Torx T30 wrench, and a thin but sturdy tool for removing the plastic parts. Start by removing the door panel by unscrewing the two screws located under the inner door handle with the Torx T25. Next, remove the inner plastic piece at the corner of the window near the rearview mirror and disconnect the connector attached to it. At this point, using the thin but sturdy tool, insert it between the door panel and the door itself, and slide it to release the clips of the panel. This will successfully detach the door panel, but before moving it away, you must disconnect the opening handle by releasing the two clips that hold it and the electrical connectors. Once this is done, you can start removing the connector connected to the mirror. Then, unscrew and remove the three screws with the Torx T30. After removing these screws, gently lift the mirror to extract it from its housing, and you will have successfully completed the disassembly.
Updated on 20 April 2026 by ScegliAuto
Video tutorial
Related tutorials
Volvo S60
(2010-2018 /
MK 2)
In today's video, you will see how to remove and replace the cabin air filter in the Volvo S60, as well as in the V60. First, open the front door on …
Volvo S60
(2000-2009 /
MK 1)
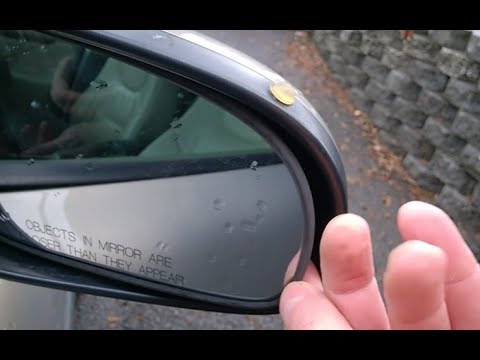
How do you remove the mirror glass mounted in the rearview mirror of a Volvo S60? Use a plastic or rubber-coated lever to pry between the edge of the…
Volvo S60
(2000-2009 /
MK 1)
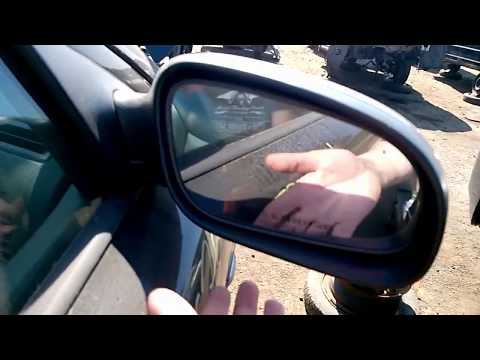
Is the mirror on your Volvo S60 broken? Want to replace it yourself? Let's see how. Pry with a plastic tool between the mirror and its housing. Pry u…
Other guides you may be interested in
|
How to Check the Oil Level on a Jeep Renegade?
To check the oil level on a Jeep Renegade, you need to open the bonnet to access the components inside the engine bay: on the lower left side of the engine block, you will find the dipstick for checking the level. This should be pulled out and thoroughly cleaned with a cloth: once cleaned, reinsert it back into its tube and pull it out immediately after. This way, you can check that the oil mark is between the minimum and maximum levels; finally, you can place the dipstick back in its tube. by ScegliAuto More videos
|

|
For advertising on this site Write to info@scegliauto.com
ScegliAuto is not responsible for any inaccuracy of the data in the lists. To report any inaccuracy or your business (if you own the business in question), please write to info@scegliauto.com
Number of seconds to generate the page: 0.430
(c) ScegliAuto 2026 - info@scegliauto.com - Privacy policy VAT number: IT01247470535 |
