
|
Do it yourself
| |||
| ||||


Replacing the Starter Motor
Model: Volvo S70
MK 1
- Years 1996-2000
This video demonstrates how to replace the starter motor on a Volvo 850. The same procedure applies to other Volvo models such as S70, V70, and XC70. The tutorial author recommends testing the starter before replacing it, as sometimes the starting issue is caused by problems with the battery cable. In this case, proceed with the replacement from the top of the vehicle (not from underneath with the car raised on a jack). First, using a 10 mm socket, disconnect the negative terminal of the battery. After removing the intake duct connector, disconnect all electrical connections. To remove the starter motor, unscrew the bolts securing it with 10 mm and 12 mm spanners. Retrieve the bracket located behind the starter; this will be needed for the installation of the new one. It is better to choose a refurbished starter rather than a used one. Refit the parts that blocked access to the starter and reconnect all electrical connections; test the operation by attempting to start the car.
Updated on 9 February 2026 by ScegliAuto
Video tutorial
Related tutorials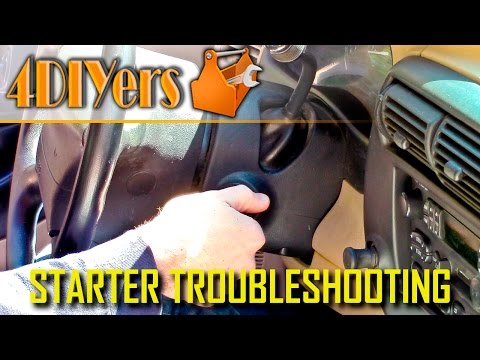
Volvo S70
(1996-2000 /
MK 1)
The starter motor is a crucial electrical component that allows you to start the car's engine. If you notice that the car won't start, it likely mean…
Volvo S70
(1996-2000 /
MK 1)
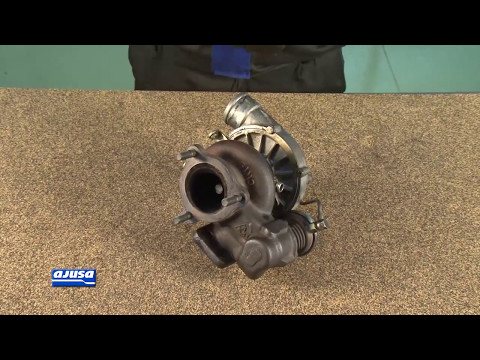
Installing turbochargers is not a simple task, and it requires first carrying out necessary operations such as: replacing the oil lines, as often cle…
Volvo S70
(1996-2000 /
MK 1)
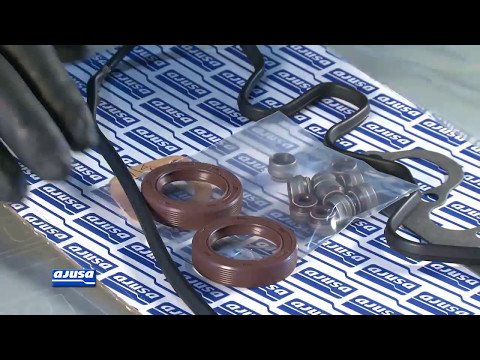
Before applying the new gasket to the intake manifold, it is crucial to clean the surface on both the manifold and cylinder head sides, removing any …
Other guides you may be interested in
|
How to Check the Oil Level on a Jeep Renegade?
To check the oil level on a Jeep Renegade, you need to open the bonnet to access the components inside the engine bay: on the lower left side of the engine block, you will find the dipstick for checking the level. This should be pulled out and thoroughly cleaned with a cloth: once cleaned, reinsert it back into its tube and pull it out immediately after. This way, you can check that the oil mark is between the minimum and maximum levels; finally, you can place the dipstick back in its tube. by ScegliAuto More videos
|
|
For advertising on this site Write to info@scegliauto.com
ScegliAuto is not responsible for any inaccuracy of the data in the lists. To report any inaccuracy or your business (if you own the business in question), please write to info@scegliauto.com
Number of seconds to generate the page: 0.123
(c) ScegliAuto 2026 - info@scegliauto.com - Privacy policy VAT number: IT01247470535 |
