
|
Do it yourself
| |||
| ||||


Alfa Romeo Mito - Video tutorial
Model: Alfa Romeo Mito
MK 1
- Years 2008-2018 As we can see in this tutorial, replacing the headlight bulbs in the Alfa Romeo MiTo is a very simple operation. Before proceeding, make sure that the key is not inserted in order to operate safely. We start by opening the bonnet, then, as regards the left side, we unscrew the bolt of the battery fixing strap, disconnect both terminals starting from the negative and extract it. We then remove the rubber cap on the back of the headlight, turn the bulb counterclockwise to remove it from the housing and proceed with its replacement. For the opposite side it will be sufficient to follow the same procedure but without the need to disassemble any element.
Posted on 19 October 2022 by ScegliAuto
 What kind of lamps does the Alfa Romeo Mito mount and how they are mounted
Alfa Romeo Mito (2008-2018 / MK 1) Today we will tell you what kind of bulbs the Alfa Romeo Mito is fitted with and how to replace them. Let's start by saying that the Alfa Romeo Mito  Replacing high beam bulbs on Alfa Romeo Mito
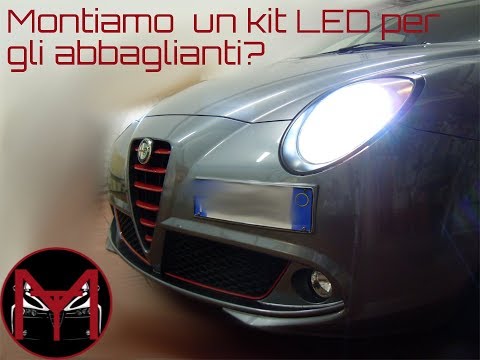
Alfa Romeo Mito (2008-2018 / MK 1) Replacing high beam bulbs on Alfa Romeo Mito? Let's see how the bulbs are removed from inside the lighthouse and how to replace them. We lift the fro  Replacement Alfa Mito headlight bulbs
Alfa Romeo Mito (2008-2018 / MK 1) Are the Alfa Romeo Mito bulbs damaged? Let's see how to replace them. We open the front hood by pulling the lever located at the bottom right of the Other guides that may interest you
|
How do I replace the Land Rover Evoque auxiliary battery?
In order to replace the auxiliary battery of the Land Rover Evoque, it is necessary to go inside the passenger compartment and remove the panel which is positioned immediately under the glovebox. Once the screws that secure this panel have been loosened, it will be possible to access the components located in its rear part, including the auxiliary battery. The latter must be disconnected from its cables and the fixing screws must be loosened. The battery can then be replaced with a new one and the panel can be fixed again with its screws. by ScegliAuto More videos
|
|
For advertising on this site Write to info@scegliauto.com
ScegliAuto is not responsible for any inaccuracy of the data in the lists. To report any inaccuracy or your business (if you own the business in question), please write to info@scegliauto.com
Number of seconds to generate the page: 0.122
(c) ScegliAuto 2024 - info@scegliauto.com - Privacy Policy VAT number: IT01247470535 |