
|
Do it yourself
| |||
| ||||


How to Install the Reversing Camera on the Audi A3
Model: Audi A3 Sportback
MK 3
- Years 2012-2019
To install a complete original kit for the rear reversing camera, including cables and wiring, on an Audi A3, start by going to the rear of the vehicle and removing the tailgate handle. Once the handle is removed, install the original handle with the integrated reversing camera, passing the cables through the designated hole until you hear a click. Now, route the various cables and wiring from the tailgate to the glove compartment, passing them under the car to reach the glove compartment (run the cables under the carpet). Once the reversing camera is connected to the infotainment system, connecting a PC with an OBD socket shows that the camera is malfunctioning. Connect another type of diagnostic tool specifically for installation/coding and calibration of instruments. Reconnect the standard diagnostic tool and note that no errors are displayed, and the camera is functioning perfectly. Now you can test the reversing camera and observe that when you turn the steering wheel, the rear lines move as well.
Updated on 20 May 2026 by ScegliAuto
Video tutorial
Related tutorials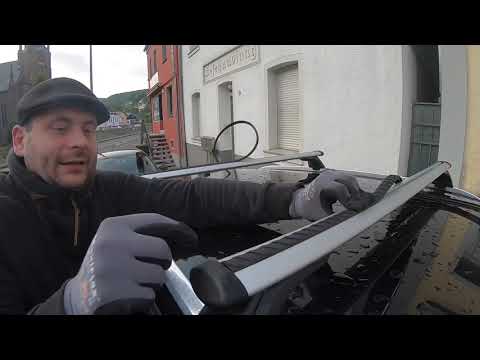
Audi A3 Sportback
(2012-2019 /
MK 3)
In this brief guide, follow the steps to install roof bars or roof racks on an Audi A3 Sportback, following the instructions below. First, obtain the…

Audi A3 Sportback
(2003-2013 /
MK 2)
To install the tow bar on an Audi A3 Sportback, start by removing the rear lights (outer lights), then remove the rear bumper and the rear longitudin…

Audi A3 Sportback
(2003-2013 /
MK 2)
Today, you will learn how to remove the original radio from your Audi A3 Sport. First, take your release keys and insert them into the slots located …
Other guides you may be interested in
|
How to Check the Oil Level on a Jeep Renegade?
To check the oil level on a Jeep Renegade, you need to open the bonnet to access the components inside the engine bay: on the lower left side of the engine block, you will find the dipstick for checking the level. This should be pulled out and thoroughly cleaned with a cloth: once cleaned, reinsert it back into its tube and pull it out immediately after. This way, you can check that the oil mark is between the minimum and maximum levels; finally, you can place the dipstick back in its tube. by ScegliAuto More videos
|

|
For advertising on this site Write to info@scegliauto.com
ScegliAuto is not responsible for any inaccuracy of the data in the lists. To report any inaccuracy or your business (if you own the business in question), please write to info@scegliauto.com
Number of seconds to generate the page: 0.344
(c) ScegliAuto 2026 - info@scegliauto.com - Privacy policy VAT number: IT01247470535 |
