
|
Do it yourself
| |||
| ||||


|
To remove the radiator, first remove the headlights, front bumper, and air conditioning condenser, recovering the refrigerant gas and ensuring it does not escape into the air. Once these components are removed, unscrew the radiator mounting bolts from their supports, extract the support bushings, disconnect the hoses by releasing the clips and allowing the refrigerant fluid to drain. After emptying and freeing the radiator, remove the plastic pins that secure the radiator to the hood latch and complete the removal.
Updated on 19 February 2026 by ScegliAuto
Video tutorial
Related tutorials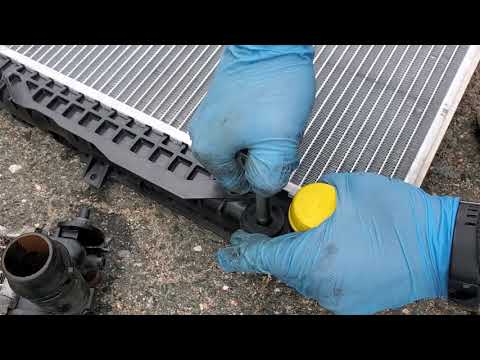
Audi A4
(1994-2000 /
B5)
In this tutorial we can see how to disassemble the radiator in the Audi A4, an operation that requires good manual skills. Before doing this, we will…

Audi A4
(2000-2004 /
B6)
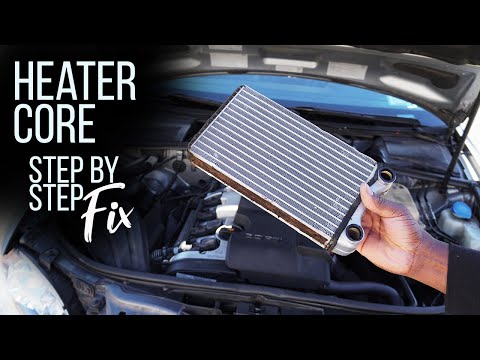
In today's video tutorial we will see the main instructions that will allow us to disassemble the internal radiator of the passenger compartment heat…
Audi A4
(2004-2008 /
B7)
In today's video tutorial we will see how to remove and replace the radiator of the passenger compartment heating of the Audi A4 B7, in simple steps.…
Other guides you may be interested in
|
Installation of Upgraded Intercooler Radiator with Pipes
Lift the vehicle on suitable axle stands, remove the front wheels, and then the front bumper and grille. Proceed to remove the front headlights; drain the coolant, remove the intercooler radiator and the hoses connecting it to the intake system. Position the new intercooler radiator in the grille, temporarily securing it with cable ties, and mark with a marker the part of the metal that needs to be removed to allow the new hoses to pass through. Cut the marked portion of metal and apply a gasket to the edge. Remove the inner cover of the bumper and position it near the radiator to identify any interfering parts to eliminate: again, apply a gasket to the edge of the cut. Create brackets for securing the new radiator and proceed with the installation of the connecting pipes from the radiator to the intake, shaping and connecting them appropriately. Finally, reassemble the bumper, headlights, and grille. by ScegliAuto More videos
|
|
For advertising on this site Write to info@scegliauto.com
ScegliAuto is not responsible for any inaccuracy of the data in the lists. To report any inaccuracy or your business (if you own the business in question), please write to info@scegliauto.com
Number of seconds to generate the page: 0.073
(c) ScegliAuto 2026 - info@scegliauto.com - Privacy policy VAT number: IT01247470535 |