
|
Do it yourself
| |||
| ||||


Steering Tie Rod Replacement
Model: BMW Serie 3
E46
- Years 1998-2006
Lift the car on the lift and remove the front wheels to access the mechanics. The necessary tools are a ratchet wrench, a set of open-end wrenches, a puller, and various pliers. Locate the steering tie rods and proceed with removal by unscrewing all the bolts and extracting the pins from the steering assembly. Use the puller and a punch to remove the bolts from their seats after thoroughly spraying them with penetrating oil. Remove the tie rods from the engine side by unscrewing the retaining nut. Replace the rubber boot and insert the new one into the tie rods using the appropriate inserter. Reassemble the tie rods and the rest of the mechanics that were previously removed.
Updated on 6 February 2026 by ScegliAuto
Video tutorial
Related tutorials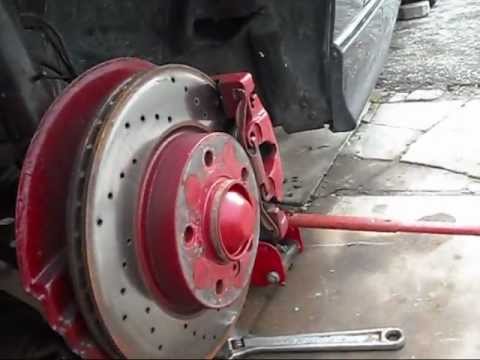
BMW Serie 3
(1990-2001 /
E36)
If the vehicle experiences steering instability, you need to replace the tie rods. Lift the vehicle, secure it, and remove the wheels. Remove the cla…
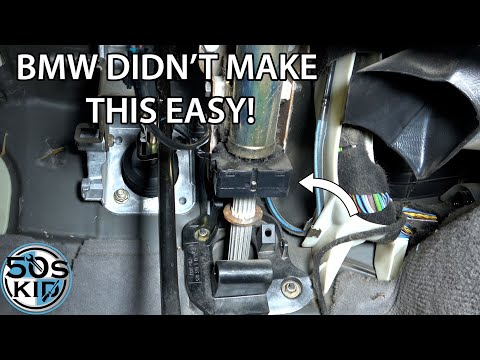
BMW Serie 3
(1998-2006 /
E46)
In this guide we will see the procedure that will help us in the process of disassembling and replacing the steering angle sensor of the BMW 3 Series…
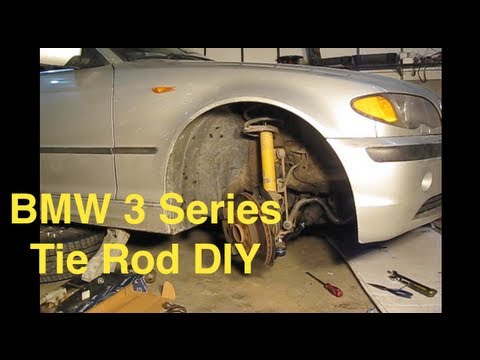
BMW Serie 3
(1998-2006 /
E46)
The necessary tools are a ratchet wrench, a set of combination wrenches, a puller, and various pliers. Lift the vehicle on a lift and remove the whee…
Other guides you may be interested in
|
How to Replace the Cabin Air Filter of a Fiat Punto 55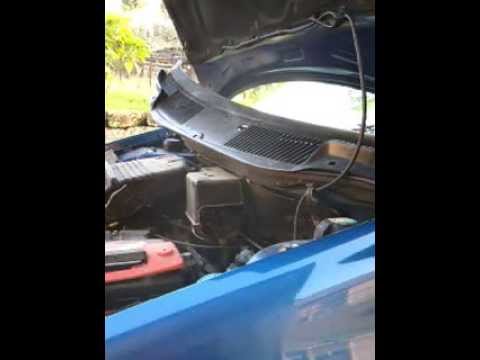
Replacing the cabin air filter on the first series Fiat Punto 188 requires some patience as several components must be removed before accessing the filter location. The filter is located in the engine bay, on the passenger side, just below the windscreen. To replace it, you will need to remove the plastic grille covering the area just below the windscreen, which also involves removing the wiper control arms. Once you reach the filter location, remove the cover and extract the filter along with its plastic support frame. After thoroughly cleaning all components, fit the new filter and reassemble in reverse order. by ScegliAuto More videos
|
|
For advertising on this site Write to info@scegliauto.com
ScegliAuto is not responsible for any inaccuracy of the data in the lists. To report any inaccuracy or your business (if you own the business in question), please write to info@scegliauto.com
Number of seconds to generate the page: 0.074
(c) ScegliAuto 2026 - info@scegliauto.com - Privacy policy VAT number: IT01247470535 |