
|
Do it yourself
| |||
| ||||


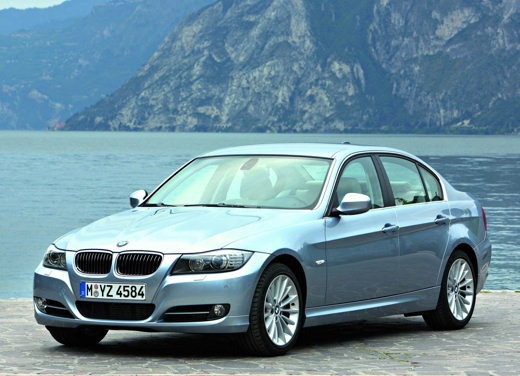
How to Replace the Headlight Bulb on a BMW 3 Series
Model: BMW Serie 3
E91, E90, E92
- Years 2005-2013
Before you can start, put the transmission in first gear and engage the parking brake on your BMW 3 Series. Begin by lifting the vehicle. Next, loosen the wheel bolts on the wheel near the burnt-out bulb, then remove the wheel. This will give you access to the outer cover of the bulb, which you can remove. After that, unscrew and remove the inner cover of the burnt-out bulb. Once you complete this step, disconnect the bulb connector and release the retaining clip, then remove the bulb, and you will have finished the disassembly. To install the new bulb, just follow this procedure in reverse, and the replacement will be complete.
Updated on 5 April 2026 by ScegliAuto
Video tutorial
Related tutorials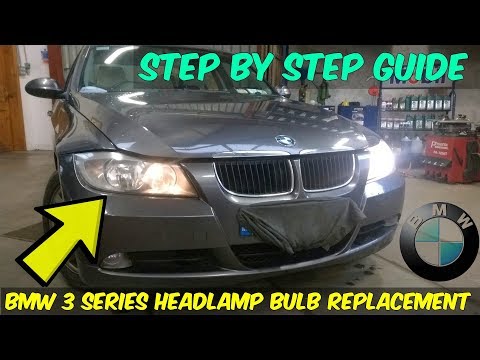
BMW Serie 3
(2005-2013 /
E91, E90, E92)
Before you begin, open the hood of your BMW 3 Series. Start by removing the rear cover of the burnt-out bulb. Next, disconnect the electrical connect…
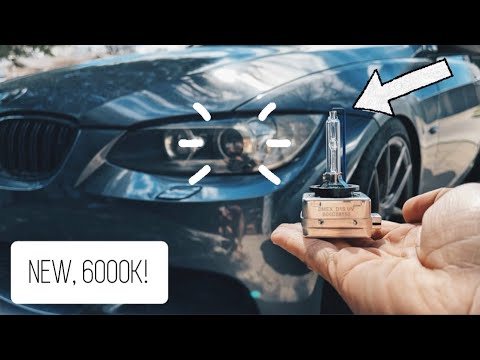
BMW Serie 3
(2005-2013 /
E91, E90, E92)
To replace the headlight bulb on a BMW 3 Series, remove the bolts securing the front wheel corresponding to the bulb you need to replace. Once the wh…
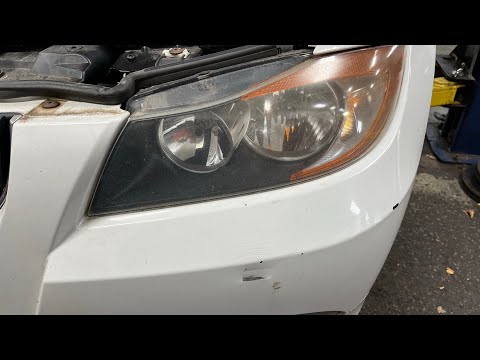
BMW Serie 3
(2005-2013 /
E91, E90, E92)
To replace the headlight bulb on a BMW 3 Series, loosen the screws that secure the panel located in the wheel well corresponding to the bulb to be re…
Other guides you may be interested in
|
How to Remove the Headrests from a Fiat Panda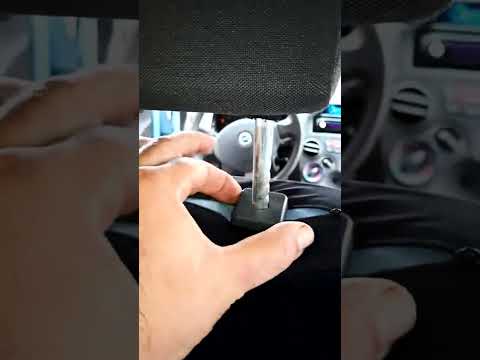
Below are the instructions to remove the headrests, both front and rear, from the Fiat Panda. First, get inside the vehicle and press and hold the side button located at the base of the headrest. Then, while holding the button, pull the headrest upwards to remove it, as shown in the video. At this point, perform the same operation on the other headrests. Now, simply insert them back in while holding the button, and finally adjust the height of all the headrests! by ScegliAuto More videos
|
|
For advertising on this site Write to info@scegliauto.com
ScegliAuto is not responsible for any inaccuracy of the data in the lists. To report any inaccuracy or your business (if you own the business in question), please write to info@scegliauto.com
Number of seconds to generate the page: 0.645
(c) ScegliAuto 2026 - info@scegliauto.com - Privacy policy VAT number: IT01247470535 |
