
|
Do it yourself
| |||
| ||||


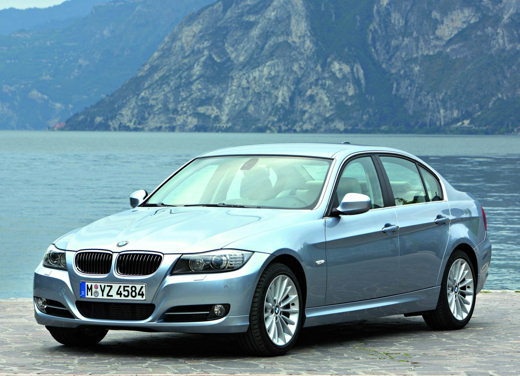
Replacing the Front Control Arm.
Model: BMW Serie 3
E92, E90, E91
- Years:
2005, 2006, 2007, 2008, 2009, 2010, 2011, 2012, 2013
Video tutorial
Position the car on a level surface and lift it using a jack at the front left position. Remove the wheel. Locate the control arm and, if necessary, spray some penetrating oil on the bolts that secure it. To remove the bolt head, you need to take off a piece of plastic protection inside the fender, which makes the disassembly challenging. Use the appropriate wrench to remove the bolt that connects the control arm to the wheel. Tap the control arm from its position with a hammer. Now, remove the bolt that secures the control arm head using the appropriate wrench. Again, to free it from this position, you need to remove the plastic protection inside the fender. At this point, extract the control arm and replace it with the new one. For reassembly, follow all the steps in reverse order. The replacement was done on a BMW 3 Series.
Updated on 19 February 2026 by ScegliAuto
Related tutorials
BMW Serie 3
(1998-2006 /
E46)
Lift the front of the car on the side where you need to work using a jack. Remove the front wheel. Locate the position of the control arm and, before…

BMW Serie 3
(1990-2001 /
E36)
The necessary tools are a ratchet wrench, a set of open-end wrenches, and the replacement arm. Lift the car and secure it with appropriate jack stand…

BMW Serie 3
(2005-2013 /
E92, E90, E91)
Before you begin, exit the cabin of your BMW 3 Series and head to the front of the vehicle. Start by lifting the entire wiper arm, raising the blade …
Other guides you may be interested in
|
How to reset the tyre pressure warning light on the Kia Niro EV?
To reset the tyre pressure warning light on the Kia Niro EV, inflate the tyres until they reach the correct pressure value. This value is indicated on the sticker attached to the driver's door pillar. Once the tyres are inflated, turn on the instrument cluster to check that the warning light has completely disappeared from the display. If it is still present, you may need to drive for a few miles to ensure it disappears completely from the screen. by ScegliAuto More videos
|
|
For advertising on this site Write to info@scegliauto.com
ScegliAuto is not responsible for any inaccuracy of the data in the lists. To report any inaccuracy or your business (if you own the business in question), please write to info@scegliauto.com
Number of seconds to generate the page: 0.022
(c) ScegliAuto 2026 - info@scegliauto.com - Privacy policy VAT number: IT01247470535 |
