
|
Do it yourself
| |||
| ||||


Front Brake Caliper Replacement
Model: BMW X5
E53
- Years 1999-2006
Due to overheating of the brake fluid or the corrosive action of salt spread on snowy roads, the seals of the brake caliper may become damaged, requiring the caliper to be replaced (it can also be rebuilt). Lift the vehicle and remove the front wheel. Remove the spring clip attached to the caliper, the protective caps from the mounting pins, and loosen the nut securing the brake line. Then, unscrew the caliper mounting pins, pry between the rotor and the brake pads to slightly retract the piston, and remove the caliper from its bracket. Next, remove the brake pads and complete the disconnection of the brake line. Attach the line to the new caliper, insert the brake pads, and secure the caliper to its bracket before bleeding the system through the designated valve.
Updated on 20 February 2026 by ScegliAuto
Video tutorial
Related tutorials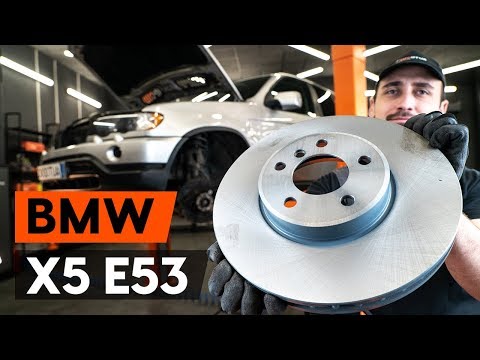
BMW X5
(1999-2006 /
E53)
In this video we will see how to replace the brake discs of our impressive BMW X5 SUV. First we will go to lift our car and remove the wheels; after …

BMW X5
(2007-2013 /
E70)
To make the brake wear indicator light disappear completely from the instrument panel of the BMW X5, you will first need to replace the worn brake pa…
BMW X5
(1999-2006 /
E53)
Replacing the rear shock absorber is much simpler than the front ones since the spring and the damper are separate; essentially, lift the vehicle on …
Other guides you may be interested in
|
How to Replace the Cabin Filter in a Peugeot 207
How do you replace the cabin filter (pollen filter) located in a Peugeot 207? Follow these steps to remove the filter from its dedicated housing: use a screwdriver to unscrew the screws of the plastic cover located under the front windscreen, then remove the filter cover using a lever (where the air filter is located). Use a screwdriver to remove the cap from the filter housing and extract the cabin filter. Insert a new filter ensuring it fits snugly around the walls of the box. Finally, reattach the filter box cap and tighten the screws. Close the engine bonnet after assembly. by ScegliAuto More videos
|
|
For advertising on this site Write to info@scegliauto.com
ScegliAuto is not responsible for any inaccuracy of the data in the lists. To report any inaccuracy or your business (if you own the business in question), please write to info@scegliauto.com
Number of seconds to generate the page: 0.065
(c) ScegliAuto 2026 - info@scegliauto.com - Privacy policy VAT number: IT01247470535 |