
|
Do it yourself
| |||
| ||||


What is the fuse layout for the Chevrolet Tahoe?
Model: Chevrolet Tahoe
Gmtk2uc, Gmtk2ug
- Years 2015-2020
In this video we can see where the fuse boxes of the Chevrolet Tahoe are located and what their respective diagrams are, useful in case we need to check the fuses of a malfunctioning device. We find the first two boxes inside the passenger compartment, one behind the left side wall of the dashboard and the other behind the right side wall. The third box is located inside the engine compartment, next to the battery, while the fourth and last box is positioned on the left wall of the trunk. Make sure to replace faulty fuses with replacements of equivalent specifications.
Posted on 26 July 2025 by ScegliAuto
Video tutorial
Related tutorials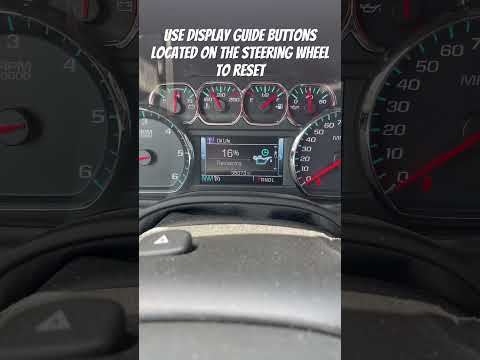
Chevrolet Tahoe
(2015-2020 /
Gmtk2uc, Gmtk2ug)
Thanks to the following guide, you will finally be able to correctly reset the manual oil light on the instrument panel of your 2020 Chevrolet Tahoe.…

Chevrolet Tahoe
(2007-2014 /
Gmt900)
If you are experiencing electrical malfunctions on your 2008 Chevrolet Tahoe and want to discover where the various fuses are located to work on them…

Chevrolet Tahoe
(2007-2014 /
Gmt900)
Thanks to the small size of the remote control of your Chevrolet Tahoe, replacing the button battery located inside it is a very simple operation and…
Other guides you may be interested in
|
Installation of Upgraded Intercooler Radiator with Pipes
Lift the vehicle on suitable axle stands, remove the front wheels, and then the front bumper and grille. Proceed to remove the front headlights; drain the coolant, remove the intercooler radiator and the hoses connecting it to the intake system. Position the new intercooler radiator in the grille, temporarily securing it with cable ties, and mark with a marker the part of the metal that needs to be removed to allow the new hoses to pass through. Cut the marked portion of metal and apply a gasket to the edge. Remove the inner cover of the bumper and position it near the radiator to identify any interfering parts to eliminate: again, apply a gasket to the edge of the cut. Create brackets for securing the new radiator and proceed with the installation of the connecting pipes from the radiator to the intake, shaping and connecting them appropriately. Finally, reassemble the bumper, headlights, and grille. by ScegliAuto More videos
|
|
For advertising on this site Write to info@scegliauto.com
ScegliAuto is not responsible for any inaccuracy of the data in the lists. To report any inaccuracy or your business (if you own the business in question), please write to info@scegliauto.com
Number of seconds to generate the page: 0.157
(c) ScegliAuto 2026 - info@scegliauto.com - Privacy policy VAT number: IT01247470535 |