
|
Do it yourself
| |||
| ||||


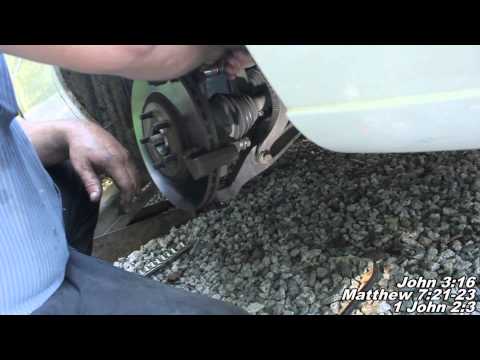
Instructions for Replacing the Timing Belt
Model: Chrysler Sebring
St22, JR
- Years 2000-2006
Only perform the timing belt replacement if you have a good understanding of general mechanics, as an error in positioning the belt or securing any pulleys could severely compromise the engine. Start by positioning the vehicle on a ramp, removing the front right wheel, and applying a support under the engine to remove the engine mount on the timing side. Drain the coolant through the radiator drain plug, as you will also need to remove the water pump. Continue by removing the two auxiliary belts by loosening their respective tensioners; rotate the crankshaft pulley to align the timing marks and remove the pulley to extract the second auxiliary belt. Then, remove the timing belt covers by moving the alternator to complete the removal of the engine mount bracket and disconnect the electrical connectors. Note the routing of the belt around the various pulleys and loosen the tensioner to slide it off only after verifying the alignment of the timing marks again. Proceed with replacing the water pump, idler rollers, and tensioners before finally repositioning the belt. Finally, reinstall everything that was previously removed, also replacing the auxiliary belts and the coolant.
Updated on 11 February 2026 by ScegliAuto
Video tutorial
Related tutorials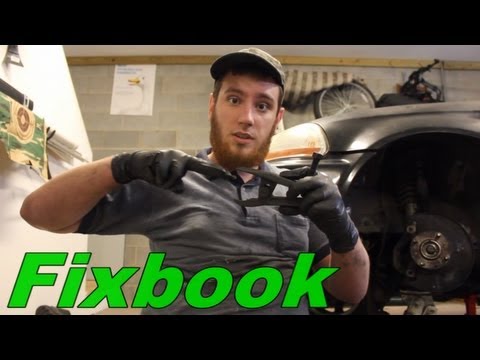
Chrysler Sebring
(2000-2006 /
St22, JR)
At the ends of the wishbone arms of the suspension or the tie rods of the steering box, there are the so-called joints: these are ball joint assembli…
Chrysler Sebring
(2000-2006 /
St22, JR)
To repair the front wheel hub bearing, you need to replace the entire hub complete with bearing; therefore, lift the vehicle and remove the front whe…

Chrysler Sebring
(2000-2006 /
St22, JR)
Today we will explain how to replace the radio of the 2006 Chrysler Sebring on your own. Before inserting a new radio, we need to remove the previous…
Other guides you may be interested in
|
How to Remove the Centre Console on a Renault Scenic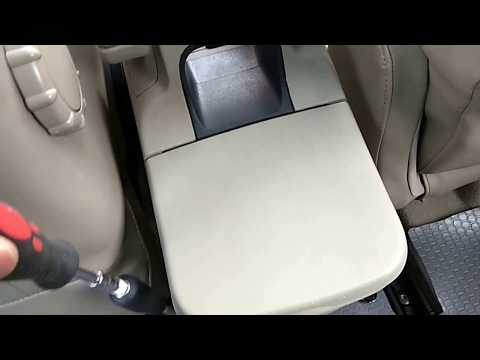
Watch this video to learn how to remove the glove compartment from the rear cover of the centre console on a Renault Scenic. Use a plastic lever to pry at the edge of the side plastics as shown in the video. Once the plastics are removed, unscrew the screws located at the sides of the centre console with a suitable screwdriver, and disconnect all the power connectors. Remove the side rests from the glove compartment. Fit the new piece onto the centre cover and proceed with the assembly of the remaining parts, working in reverse order. by ScegliAuto More videos
|
|
For advertising on this site Write to info@scegliauto.com
ScegliAuto is not responsible for any inaccuracy of the data in the lists. To report any inaccuracy or your business (if you own the business in question), please write to info@scegliauto.com
Number of seconds to generate the page: 0.083
(c) ScegliAuto 2026 - info@scegliauto.com - Privacy policy VAT number: IT01247470535 |