
|
Do it yourself
| |||
| ||||


How to replace the clutch of the Citroen C3.
Model: Citroen C3
FC, FN
- Years 2002-2009
Replacing the clutch on a Citroen C3 is a complex operation but can be done independently thanks to our video tutorial. Let's open the front hood and remove the air duct by rotating it counterclockwise and pulling it outward. We will remove the battery cover and disconnect the negative terminal using an 8mm wrench, then disconnect the positive terminal and remove the battery. We will also remove the ECU by rotating it and resting it on its side, unscrewing the protective wiring of the power steering ECU and removing the protective plastic. Using a flathead screwdriver, we will disconnect the blue and black connector from the ECU; we will remove the metal key from the last connector and pull the red lock. Using a lifting element, we will detach the cable from the negative terminal located in the battery compartment and unscrew the exhaust flexible pipe. We will remove the housing using a 10mm socket wrench and extension and unscrew the two screws. We will then remove the intake duct support and the battery compartment; disconnect the reverse sensor using a socket wrench with an extension and a 13mm socket, and unscrew the screw that holds the ground cables in place. We will disconnect the pendulum support cable and unclip the two controls from the gearbox, using pliers to remove the pins located on the gearbox. Next, we will remove the front wheel using a 30mm wrench to unscrew the transmission nut. We will lift the front of the car and support it on jack stands. We will remove the fender using a fork to detach the supporting tabs. We will remove the base and positioning ourselves under the vehicle, we will remove the two drive shafts by rotating and draining the gearbox. We will unscrew the two screws to access the oil tank, and using a female Torx E14 socket, we will unscrew the bleed bolt of the gearbox located under the drive shaft at the height of the engagement. Using a small socket wrench and a 13mm socket, we will unscrew the two screws that hold the clutch sensor in position, disconnect the transmission cable, and remove the transmission nut. We will remove the drive shafts by disconnecting the support joint from the hub. We will unscrew the joint nut with a 16mm wrench and remove the screw. If necessary to remove the joint, we will use a crowbar, remove the drive shafts from the hub, and pry on the gearbox to completely remove the cardan shaft. We will unscrew the lower screw of the starter motor using an extension and an 8mm Allen wrench to unscrew the upper screw and the third screw located on the gearbox; this way we will have removed the starter motor. With a 16mm socket, we will unscrew the support that secures the engine to prevent it from moving. Once the anti-tilt support is unscrewed, we will remove the fastening nut of the gearbox located on the catalytic converter so that we can also remove it, using a 10mm Allen wrench. After removing the metal support and thermal protection, we will completely remove the catalytic converter. Using a 16mm wrench, we will unscrew the two screws of the engine support on the pendulum support. We will then remove the support and unscrew the fastening bolt of the gearbox so that we can also remove the coolant pipe. Once the gearbox is freed, using a Torx 40 wrench, we will remove the six screws that secure the clutch to the flywheel so that we can remove it. We will insert the new clutch and using the same wrench used to unscrew the screws, we will insert the new ones. We will mount the clutch disc on the flywheel. We will insert the new release bearing and the fork head into the housing, but first, we will grease the input shaft. We will screw the nut and the thread to start assembling the gearbox. We will screw the fastening screw of the cooling tube and the wiring. We will tighten the screw at the catalytic converter level and the screw located behind the exhaust braid. We will tighten the screw above the shaft inlet and mount the anti-tilt motor support, tightening the screws that hold the support on the engine side. We will mount the thermal protection of the catalytic converter and the metal support. We will screw the threaded rod and position the locking ring using a hose clamp pliers. We will mount the exhaust braid and secure the nuts of the catalytic converter. We will screw the gearbox screw and mount the pendulum support of the gearbox. We will insert the shaft into the hub and mount the support joint in the hub, tightening the fastening screw of the joint using a torque wrench. We will mount the hub nut, locking it by pressing the fifth gear and the brake pedal so that we can tighten it using a torque wrench. After mounting the hub, we will reposition the clutch sensor in the moving part with the boot of the clutch fork housing. We will mount the fender and the front wheel.
Posted on 25 November 2025 by ScegliAuto
Video tutorial
Related tutorials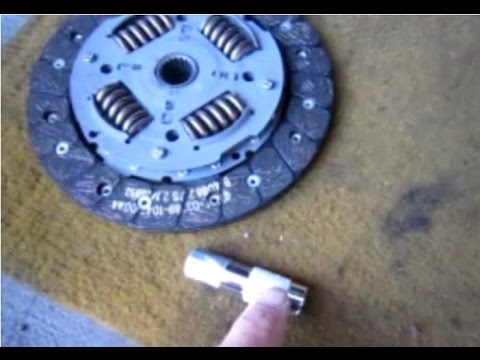
Citroen C3
(2002-2009 /
FC, FN)
To replace the clutch on a Citroën C3 1.4 HDi, lift the car so that you can remove the front right wheel and access the clutch housing. This housing …
Citroen C3
(2009-2016 /
SC)
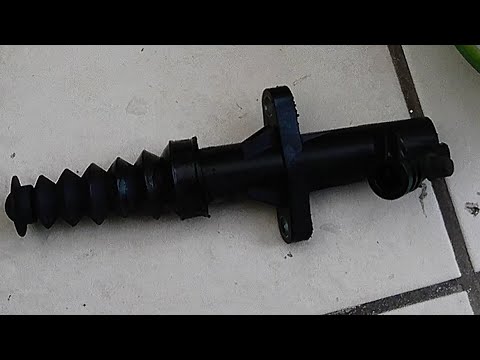
To replace the clutch pump of the Citroën C3, open the bonnet and access the engine compartment, particularly at the lower rear. Here you will find t…

Citroen C3
(2002-2009 /
FC, FN)
In this guide we will see the instructions that will allow us to disassemble and replace the clutch discs of the Citroen C3 1.4 HDI. First of all, we…
Other guides you may be interested in
|
Where is the Spare Wheel in the Peugeot 5008?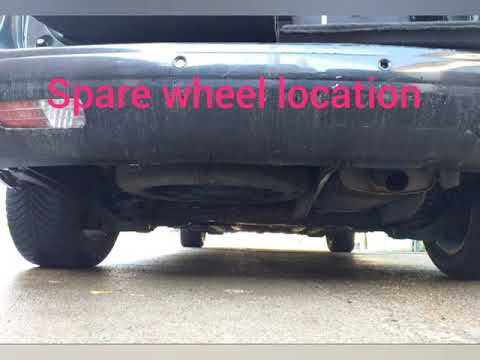
This video shows where the spare wheel is located in the Peugeot 5008 and how to access it, useful in case of a puncture. As shown, the wheel is not in the usual boot compartment but underneath it, outside the vehicle. To free the wheel, first gather the tools provided, then open the boot, locate the small indicated hatch, and open it. Next, loosen the bolt just released using the large socket wrench enough to lower the wheel to the ground. by ScegliAuto More videos
|
|
For advertising on this site Write to info@scegliauto.com
ScegliAuto is not responsible for any inaccuracy of the data in the lists. To report any inaccuracy or your business (if you own the business in question), please write to info@scegliauto.com
Number of seconds to generate the page: 0.316
(c) ScegliAuto 2026 - info@scegliauto.com - Privacy policy VAT number: IT01247470535 |
