
|
Do it yourself
| |||
| ||||


How to Replace the Diesel Filter on Dacia Sandero
Model: Dacia Sandero
BS
- Years 2008-2012
Let's see how to replace the diesel filter on a Dacia Sandero: lift the car on a column lift (if necessary, remove the front wheel using a screwdriver to detach the right wheel arch liner). Open the car door and pull up the engine compartment release lever located at the bottom left of the dashboard, lift the bonnet and secure it. Using a socket wrench, unscrew the retaining pins on the container (disconnect the cables and various hoses from the filter) where the diesel filter is located. Extract the diesel filter holder and remove the worn filter (replace it with a new one). Finally, reassemble the diesel filter container (connect the hoses and cables) and tighten the screws. Close the bonnet last.
Updated on 2 March 2026 by ScegliAuto
Video tutorial
Related tutorials
Dacia Sandero
(2012-2020 /
B8)
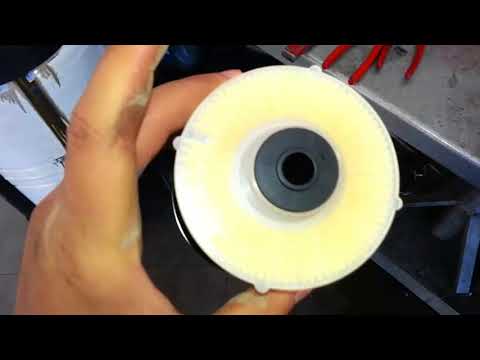
To replace the diesel filter on the Dacia Sandero, lift the car with a jack to loosen the bolts securing the front right wheel. Once removed, detach …
Dacia Sandero
(2008-2012 /
BS)
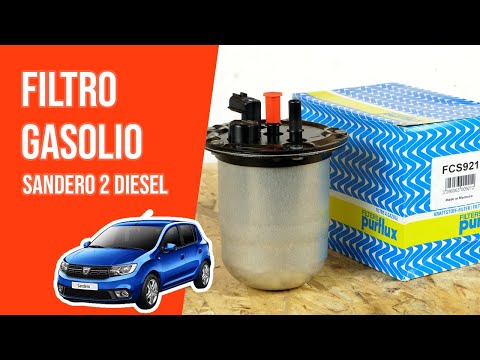
Learn how to remove the diesel filter fitted on a Dacia Sandero. Lift the car using a jack or column lift; locate the diesel filter (as shown in the …
Dacia Sandero
(2012-2020 /
B8)
In this video, learn how to replace the diesel filter on a second-generation Dacia Sandero 1.5 diesel. Start by lifting the car and removing the pass…
Other guides you may be interested in
|
How to Adjust the Brightness of the Instrument Cluster on a Peugeot 3008?
To adjust the brightness of the instrument cluster on a Peugeot 3008, you need to turn on the ignition and access the settings via the menu located in the central area of the dashboard. In the screen that appears, select the "Display Configuration" option: now, by selecting the "Brightness" option, you can adjust it using the dedicated slider that will appear on the screen. The adjustment should be made with the headlights on as well as with them off. Once the adjustment is complete, you can turn off the instrument cluster. by ScegliAuto More videos
|
|
For advertising on this site Write to info@scegliauto.com
ScegliAuto is not responsible for any inaccuracy of the data in the lists. To report any inaccuracy or your business (if you own the business in question), please write to info@scegliauto.com
Number of seconds to generate the page: 0.078
(c) ScegliAuto 2026 - info@scegliauto.com - Privacy policy VAT number: IT01247470535 |
