
|
Do it yourself
| |||
| ||||


How to remove the original radio from the Fiat Freemont
Model: Fiat Freemont
MK 1
- Years 2011-2016
In this video we see how to remove the original radio from the dashboard of a Fiat Freemont: We need to use a flat spatula or a card that we no longer use: let it pass under the chrome trim of the dashboard, so that it comes out of its housing, thus the entire trim will come off, including the one around the ventilation duct. A small part remains on the left side of the radio unit, so let's remove it. By doing this we have uncovered two screws, which we remove, then, always using the spatula, we loosen the entire frame around the air vents and the radio, in order to remove the control panel. Disconnect the electrical connectors and the antenna and remove the screws found behind and so we can also remove the screen with the entire frame and the upper air vents: many electrical connectors are connected to all this. In this case, the reason for disassembly was the damaged screen glass.
Posted on 30 May 2025 by ScegliAuto
Video tutorial
Related tutorials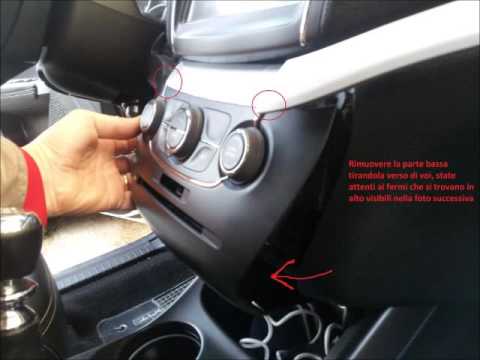
Fiat Freemont
(2011-2016 /
MK 1)
How to remove the radio/navigator from a Fiat Freemont? Carefully follow the steps in this video for disassembly: use a screwdriver and a socket to r…
Fiat Freemont
(2011-2016 /
MK 1)
In this video tutorial, you can see how to replace the radio in the Fiat Freemont by following a few simple steps that will guide you towards proper …
Fiat Freemont
(2011-2016 /
MK 1)
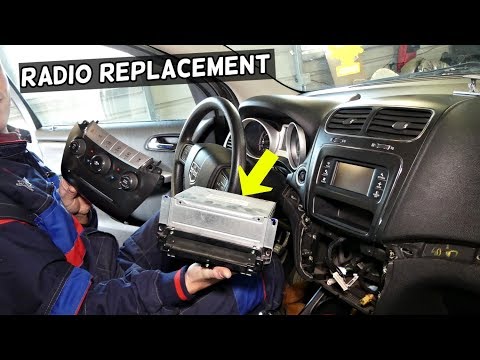
Below, we will see how to remove and replace the standard radio in the Fiat Freemont and Dodge Journey. First, get into the vehicle and start prying …
Other guides you may be interested in
|
Frequently Asked QuestionsHow to Check the Oil Level on a Jeep Renegade?
To check the oil level on a Jeep Renegade, you need to open the bonnet to access the components inside the engine bay: on the lower left side of the engine block, you will find the dipstick for checking the level. This should be pulled out and thoroughly cleaned with a cloth: once cleaned, reinsert it back into its tube and pull it out immediately after. This way, you can check that the oil mark is between the minimum and maximum levels; finally, you can place the dipstick back in its tube. by ScegliAuto More videos
|

|
For advertising on this site Write to info@scegliauto.com
ScegliAuto is not responsible for any inaccuracy of the data in the lists. To report any inaccuracy or your business (if you own the business in question), please write to info@scegliauto.com
Number of seconds to generate the page: 0.057
(c) ScegliAuto 2026 - info@scegliauto.com - Privacy policy VAT number: IT01247470535 |
