
|
Do it yourself
| |||
| ||||


What needs to be removed to replace the glow plugs of a Fiat Ducato?
Model: Fiat Ducato
X290
- Years:
2014, 2015, 2016, 2017, 2018, 2019, 2020, 2021, 2022, 2023, 2024, 2025
Video tutorial
Replacing the glow plugs on a Fiat Ducato, especially on the MultiJet 2.3 or 3.0, is a demanding job because access is very restricted. The procedure varies depending on the year and version of the engine, but the logic is similar. The first obstacle is the air filter, which must be completely removed; the injector rail and high-pressure pipes need to be taken off, which requires disconnecting the battery, depressurizing the injection system, unscrewing and removing the common rail, disconnecting the electrical connectors of the injectors, and the return pipes. Remove the exhaust manifold; this is the most complex part as it involves often rusted bolts. Remove everything that passes over the cylinder head: cooling pipes and supports, various cables and connectors, and any engine support. Sometimes, instead of disassembling the exhaust manifold, there is an attempt to loosen it and shift it to the side just enough to allow the glow plug socket with an extension to pass through, but it is a very tight maneuver. It is a long and complex job and not everyone is capable of doing it.
Posted on 14 January 2026 by ScegliAuto
Related tutorials
Fiat Ducato
(2006-2014 /
X250)
This guide provides the main instructions on how to remove and replace the glow plugs on a Fiat Ducato 2.3 MultiJet. First, open the bonnet of the ve…

Fiat Ducato
(2006-2014 /
X250)
Today we will discover the main instructions that will allow us to disassemble and replace the glow plugs of the Fiat Ducato 2.3 Multijet. First of a…
Fiat Ducato
(1993-2016 /
MK 2)
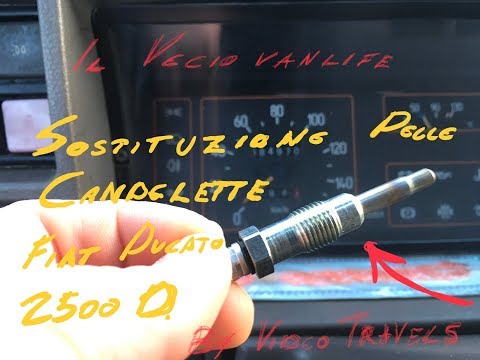
In this video, see how to replace the glow plugs on a Fiat Ducato 2.5 Aspirated. Unfortunately, on this engine, the fuel pump is located in front of …
Other guides you may be interested in
|
How to Set the Date and Time on the Iveco Daily
Today, we will see in this video tutorial how to change the date and time on the Iveco Daily. First, get into the vehicle and turn on the instrument panel; then go to the vehicle settings on the central display, pressing the relevant option for date and time. At this point, press the "set" button located at the top, using the physical arrow buttons to set both the date and time; finally, exit the onboard computer menu to save the changes made! by ScegliAuto More videos
|
|
For advertising on this site Write to info@scegliauto.com
ScegliAuto is not responsible for any inaccuracy of the data in the lists. To report any inaccuracy or your business (if you own the business in question), please write to info@scegliauto.com
Number of seconds to generate the page: 0.080
(c) ScegliAuto 2026 - info@scegliauto.com - Privacy policy VAT number: IT01247470535 |
