
|
Do it yourself
| |||
| ||||


Routine Maintenance of a Classic Fiat 500
Model: Fiat 500
- Years:
1957, 1958, 1959, 1960, 1961, 1962, 1963, 1964, 1965, 1966, 1967, 1968
Video tutorial
The video shows the routine maintenance of a classic Fiat 500. The first thing to check is the air filter. Remove the two clips, open the cover, and take out the filter. In this case, it needs replacing: insert the new filter into its housing, ensuring it fits well. Reconnect the hose, then the cover. Next, move on to the spark plugs: remove the cable, insert the socket and unscrew the spark plug. It is slightly recessed and needs to be finished unscrewing by hand. If the spark plug falls into the crankcase, don’t panic: the Fiat 500 has a specific piece to remove to retrieve it. Once retrieved, replace it with the new one, screwing it in by hand first and then with the socket. The spark plugs are now in place. Next, check the distributor (previously discussed in another video) and ensure everything is in order with the fuel line. With this, the maintenance is complete. When purchasing parts, verify the exact model of your classic Fiat 500 to ensure you find the correct part.
Posted on 12 October 2026 by ScegliAuto
Related tutorials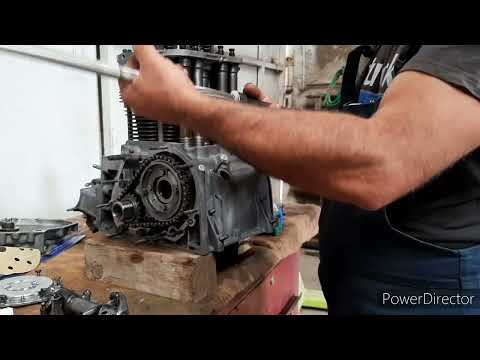
Fiat 500
(1957-1975 /
Epoca)
In this video tutorial, you will see step-by-step instructions for assembling the twin-cylinder engine of the classic Fiat 500 after a proper overhau…

Fiat 500
(1957-1975 /
Epoca)
In this guide, we will discover some important explanations regarding the carburation of our classic Fiat 500. The carburettor is equipped with manua…
Fiat 500
(1957-1975 /
Epoca)
In this video tutorial, you will learn how to replace the front leaf springs on the classic Fiat 500 L. Lift the vehicle with axle stands and unscrew…
Other guides you may be interested in
|
Frequently Asked QuestionsHow to Replace the Cabin Filter on the Ford Puma
To replace the cabin filter on the Ford Puma, detach the small cover located on the left side of the front passenger footwell: once this is removed, loosen the underlying screw so that you can detach the corresponding panel. At this point, locate the filter box underneath, which can be opened to remove the filter inside. The new filter can then be inserted, covering everything with the box and refitting the corresponding panel into its housing. by ScegliAuto More videos
|
|
For advertising on this site Write to info@scegliauto.com
ScegliAuto is not responsible for any inaccuracy of the data in the lists. To report any inaccuracy or your business (if you own the business in question), please write to info@scegliauto.com
Number of seconds to generate the page: 0.086
(c) ScegliAuto 2026 - info@scegliauto.com - Privacy policy VAT number: IT01247470535 |
