
|
Do it yourself
| |||
| ||||


How to Replace the Thermostat on a Fiat Panda
Model: Fiat Panda
169, MK 2
- Years 2003-2012
How to remove the thermostat from a Fiat Panda by yourself? Let's see in the video where and how to remove the thermostat. Remove the panel covering the engine and disconnect the battery. Unscrew the bolts on the thermostat housing cap (use a socket wrench with the appropriate sockets), pull off the sealing cap, and extract the coolant thermostat from its housing. Once the part is removed, replace it with a new one and close the compartment with the cap. Tighten the bolts securely and you are done. Ensure that the valve is correctly inserted and mounted in the appropriate housing. Reconnect the battery and the plastic covers.
Updated on 15 March 2026 by ScegliAuto
Video tutorial
Related tutorials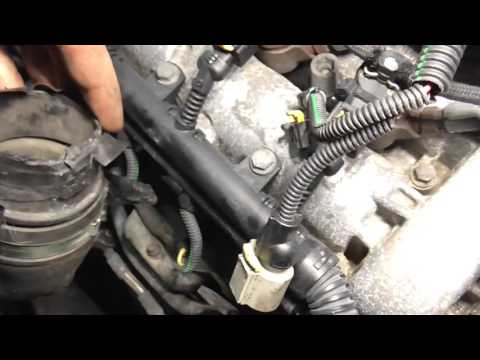
Fiat Panda
(2003-2012 /
169, MK 2)
It may happen that, due to rust formation in the engine cooling system, the thermostat can jam, preventing the correct exchange between the hot liqui…

Fiat Panda
(2003-2012 /
169, MK 2)
To replace the EGR valve on a Fiat Panda, open the bonnet to access the components inside the engine bay: the valve is located at the rear of the eng…
Fiat Panda
(2003-2012 /
169, MK 2)
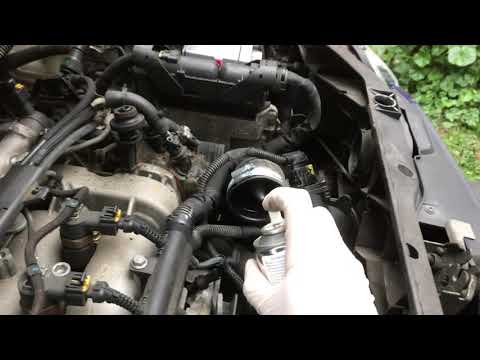
Today in this guide, we will see the instructions that will allow us to test and clean the EGR valve of the Fiat Panda 1.3 Multijet. First, we open t…
Other guides you may be interested in
|
How to Bleed the Clutch on a Renault Clio?
To bleed the clutch on a Renault Clio, open the bonnet to access the components located in the engine bay: here, you will need to undo the screws that secure the battery in its housing, the intake manifold, and the coolant reservoir. This will allow you to locate the pipe through which the brake fluid flows: by inserting the other end of the pipe into a container, you can press the clutch pedal to expel all the fluid until it fills the container. by ScegliAuto More videos
|

|
For advertising on this site Write to info@scegliauto.com
ScegliAuto is not responsible for any inaccuracy of the data in the lists. To report any inaccuracy or your business (if you own the business in question), please write to info@scegliauto.com
Number of seconds to generate the page: 0.303
(c) ScegliAuto 2026 - info@scegliauto.com - Privacy policy VAT number: IT01247470535 |
