
|
Do it yourself
| |||
| ||||


Oil Filter Replacement on Fiat Bravo 1.6 MultiJet 120HP
Model: Fiat Bravo
Bravo 2
- Years 2007-2014
Required tools: hex keys, ratchet, 10mm and 17mm sockets, screwdrivers, chain tool, funnel, oil, jack, basin. Raise the vehicle to access the oil sump. Using a 10mm ratchet, remove the cover. Use an 8mm fixed key to remove the oil drain plug and allow it to drain completely. Use the chain tool to remove the filter. Replace with a new filter, complete with seals. Clean the plug of any old oil residue. Screw the filter back on with the cover and tighten it well with the chain tool. Reinstall the sump bolt and refit the cover to the underside of the vehicle. Add new oil, wait 5 minutes for it to settle properly, and then close the plug. Turn on the ignition and wait for the oil light to turn off, then start the vehicle.
Updated on 21 March 2026 by ScegliAuto
This video is currently unavailable
Related tutorials
Fiat Bravo
(2007-2014 /
Bravo 2)
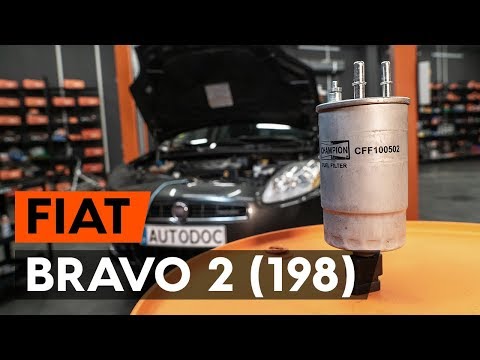
Below we will discover the steps that will allow us to disassemble and replace the diesel filter of the Fiat Bravo 1.6 MultiJet. First, we open the h…
Fiat Bravo
(2007-2014 /
Bravo 2)
In this video tutorial, you will learn how to remove and replace the diesel filter on a second series Fiat Bravo in simple and quick steps. First, op…
Fiat Bravo
(2007-2014 /
Bravo 2)
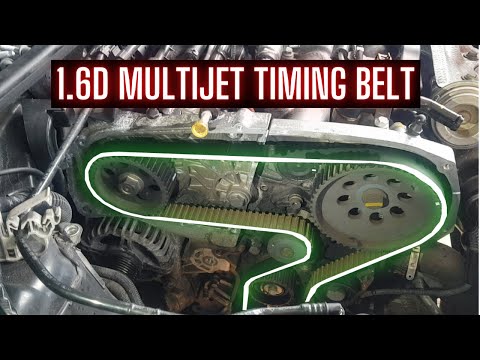
In this guide, you will learn how and when to replace the timing belt on the Fiat Bravo 1.6 MultiJet. The timing belt replacement on a small capacity…
Other guides you may be interested in
|
Where is the Fuel Filter Located in a Volvo XC60?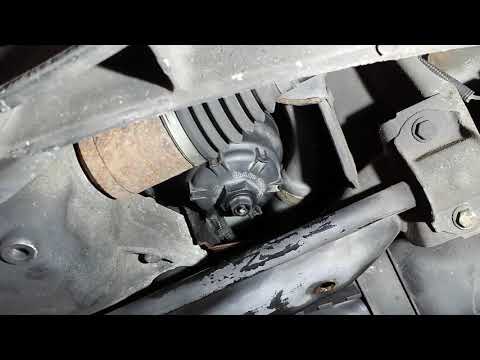
In this video, you will see where the fuel filter is located in a Volvo XC60 and how to proceed if you need to replace it. As shown, the filter is positioned at the lower part of the engine, right between the left half-shaft and the sway bar attachment. To replace the filter, first, go underneath the vehicle, taking all necessary safety precautions. Then, using an 18mm wrench, open the drain valve and allow any water present to escape. Next, unscrew the housing, remove the old filter, insert the replacement along with a new gasket, and reassemble everything. by ScegliAuto More videos
|

|
For advertising on this site Write to info@scegliauto.com
ScegliAuto is not responsible for any inaccuracy of the data in the lists. To report any inaccuracy or your business (if you own the business in question), please write to info@scegliauto.com
Number of seconds to generate the page: 0.124
(c) ScegliAuto 2026 - info@scegliauto.com - Privacy policy VAT number: IT01247470535 |
