
|
Do it yourself
| |||
| ||||


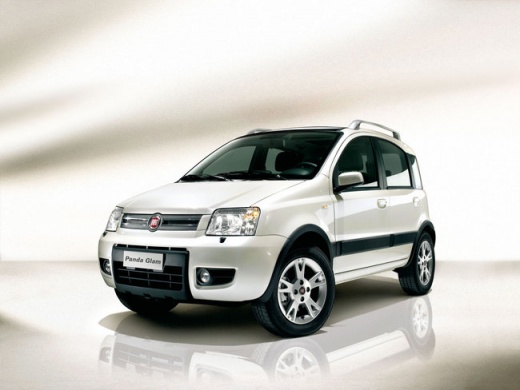
Replacement of Dashboard Lights
Model: Fiat Panda
169, MK 2
- Years:
2003, 2004, 2005, 2006, 2007, 2008, 2009, 2010, 2011, 2012
Video tutorial
Armed with a good dose of manual dexterity, follow this step-by-step tutorial on how to replace the LEDs on the lighting board of a dashboard. Work on the dashboard; first, lower the steering wheel to create more workspace. Unscrew the screws of the plastic sun visor, unscrew those securing the dashboard to the car, and extract the component, then disconnect it from the contacts. Detach the transparent plexiglass part using simple plastic levers, unscrew the rear cover, and remove the front one. Remove the caps from the dials, and gently pull the dials towards you. Lift the white rear plate. At this point, you will have the electronic board in hand, from which you remove the display attached with clips at the back (turn the clips in line with the slots and remove the display). Locate the LEDs you wish to replace and use tweezers and a soldering iron to remove the old ones and solder in the new ones. It is important to test the correct installation of the LED to check if it works by reconnecting the board to the circuit before reassembling everything. Finally, reassemble everything in reverse order. Attention!!! to the calibration of the dials as the video suggests. Good luck. Tools: various sizes of star screwdrivers soft cloth tweezers soldering tweezers soldering iron soldering paste LEDs (model PLCC2 3528)
Updated on 9 February 2026 by ScegliAuto
Related tutorials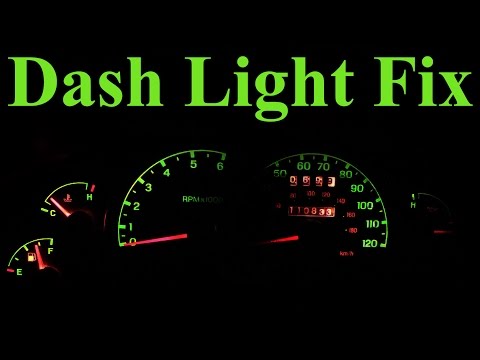
Fiat Panda
(2003-2012 /
169, MK 2)
This video tutorial explains how to replace the dashboard lights not only in the Fiat Panda but in many cars on the road, making it useful for many. …

Fiat Panda
(2012-2023 /
)
Disabling the Daytime Running Lights (DRL) in the Fiat Panda can vary depending on the model and year of production. In many models, the daytime runn…
Fiat Panda
(2012-2026 /
319, MK 3)
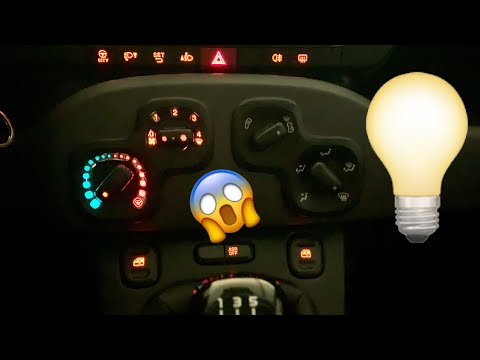
In this video tutorial, you will learn how to dismantle and replace the dashboard bulbs, specifically those for the climate control on the third gene…
Other guides you may be interested in
|
How to Reset the Tyre Pressure Warning Light on a Kia Rio?
The tyre pressure warning light displayed on the instrument cluster of the Kia Rio can be reset by inflating the tyres until they reach the recommended pressure value: this value is indicated on the sticker affixed to the driver's door pillar. Once all tyres have been inflated to the recommended pressure, turn on the ignition to check that the light has disappeared: if it is still present, it may be necessary to drive for a few miles, allowing the sensors to work and thus turning off the light. by ScegliAuto More videos
|
|
For advertising on this site Write to info@scegliauto.com
ScegliAuto is not responsible for any inaccuracy of the data in the lists. To report any inaccuracy or your business (if you own the business in question), please write to info@scegliauto.com
Number of seconds to generate the page: 0.030
(c) ScegliAuto 2026 - info@scegliauto.com - Privacy policy VAT number: IT01247470535 |
