
|
Do it yourself
| |||
| ||||


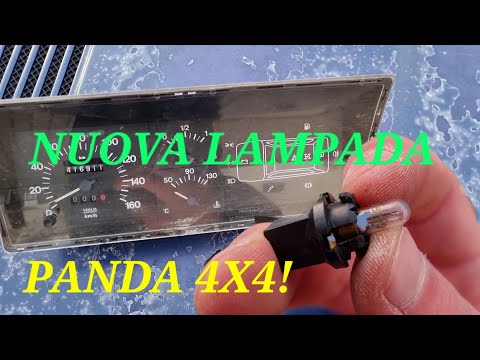
Dashboard bulb replacement on Fiat Panda 900
Model: Fiat Panda
MK 1, 141
- Years 1980-2003
As shown in the video, unscrew the four screws that secure the plastic behind the steering wheel (two below and two on the side). Detach the buttons relating to the adjustment of the air vents and remove the unit that includes the vents themselves (unplug the connector). At this point you can unscrew the two screws that secure the instrument panel and, slowly, you can extract it from its seat. Once here, it is child's play to extract the small bulbs from their seats, making them come out of the spaces behind them. Insert the small new bulbs and reassemble everything obviously proceeding backwards.
Posted on 5 December 2021 by ScegliAuto
This video is currently unavailable
Related tutorials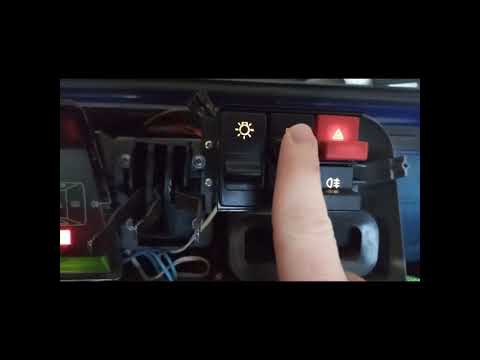
Fiat Panda
(1980-2003 /
MK 1, 141)
Let's find out in this guide how to remove the internal bulbs of the dashboard of the Fiat Panda 141, first series. First of all, let's get on board …
Fiat Panda
(1980-2003 /
MK 1, 141)
In this video tutorial we will see the main instructions that will allow us to replace the bulbs in the dashboard instrument panel of the Fiat Panda.…
Fiat Panda
(2012-2024 /
MK 3, 319)
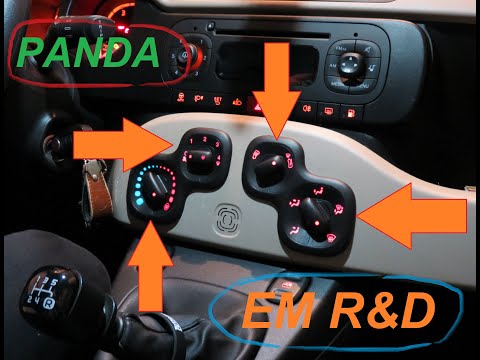
Remove the climate knobs of the Fiat panda? We disassemble the knobs of the Panda if we have to replace them or replace the bulbs inside it. We ident…
Other guides you may be interested in
|
How to Replace the Engine Air Filter on a Volkswagen Polo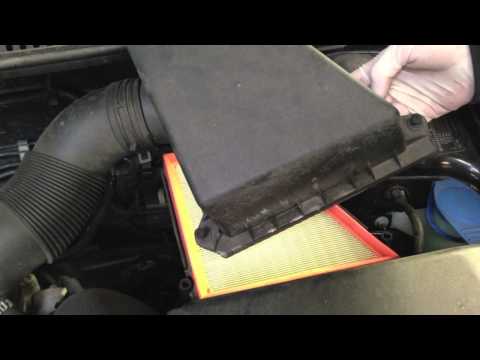
Remove the engine air filter from a Volkswagen Polo: open the car door, pull up the engine compartment release lever located at the bottom left of the dashboard and lift the front bonnet, securing it with the prop rod. Remove the engine soundproofing panel (if necessary), then open the air box (unscrew the securing screws), remove the cover of the filter box and take out the engine air filter. Insert a new filter into the dedicated housing (ensuring it fits snugly around the edges). Finally, refit the air box cover and tighten the screws. Close the front bonnet after maintenance. by ScegliAuto More videos
|
|
For advertising on this site Write to info@scegliauto.com
ScegliAuto is not responsible for any inaccuracy of the data in the lists. To report any inaccuracy or your business (if you own the business in question), please write to info@scegliauto.com
Number of seconds to generate the page: 0.087
(c) ScegliAuto 2026 - info@scegliauto.com - Privacy policy VAT number: IT01247470535 |