
|
Do it yourself
| |||
| ||||


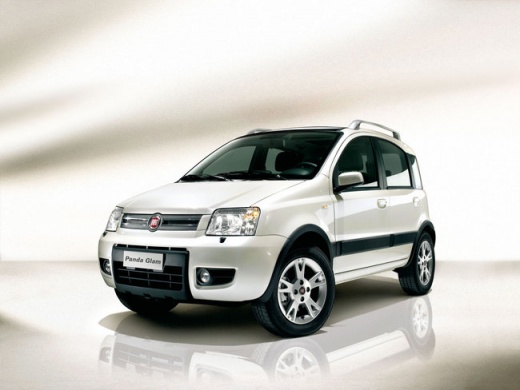
Replace the Side Light Bulb on a Fiat Panda mk2
Model: Fiat Panda
169, MK 2
- Years:
2003, 2004, 2005, 2006, 2007, 2008, 2009, 2010, 2011, 2012
Video tutorial
If you notice that the side light bulb is not working or the onboard computer indicates a fault, it is important, as well as mandatory, to replace it promptly. Failure to replace it may result in a fine. To do this manually, purchase a new bulb from a parts supplier; it is a W5W all-glass bulb. Turn off the car and open the front bonnet. Position yourself in front of the headlight to be serviced and unclip, by reaching into the bonnet, the lever that holds the inner cover of the headlight. Even though there is little space on the left side, you will not need to remove anything to unclip the two side clips and remove the cover. Without removing the headlight, from the inside, pull out the connector where the faulty bulb is inserted. Fit the new bulb, turn on the ignition to check if it works, and reassemble everything.
Updated on 2 May 2026 by ScegliAuto
Related tutorials
Fiat Panda
(2012-2026 /
319, MK 3)
This guide provides information on the procedure for removing and replacing the front position bulb in the Fiat Panda's headlamp. First, open the bon…

Fiat Panda
(2003-2012 /
169, MK 2)
To replace the position bulb on a Fiat Panda, open the bonnet to access the components located within the engine bay: locate the protective cover of …

Fiat Panda
(2012-2026 /
319, MK 3)
Today, you will see the instructions for removing and replacing the position bulbs or daytime running lights of the Fiat Panda. First, open the bonne…
Other guides you may be interested in
|
How to Set the Clock on a Renault Master 3
This guide shows you how to set a new time on a Renault Master 3. Start by turning on the instrument cluster of the vehicle without starting the engine. Next, using the end of the right-hand steering column stalk, scroll through the options on the display until you reach 'set time', then press the down arrow button to make the displayed time blink. Once this is done, press and hold the down arrow button to change the hour, which you can adjust using the two arrow buttons at the end of the stalk. Once the correct hour is set, press and hold the down arrow button again to move to the minutes. After setting the correct time, restart the vehicle. by ScegliAuto More videos
|
|
For advertising on this site Write to info@scegliauto.com
ScegliAuto is not responsible for any inaccuracy of the data in the lists. To report any inaccuracy or your business (if you own the business in question), please write to info@scegliauto.com
Number of seconds to generate the page: 0.188
(c) ScegliAuto 2026 - info@scegliauto.com - Privacy policy VAT number: IT01247470535 |
