
|
Do it yourself
| |||
| ||||


Replacing the Timing Chain on the Fiat Panda 1.3 Multijet
Model: Fiat Panda
169, MK 2
- Years 2003-2012
Replacing the timing chain on this vehicle is not exactly a DIY task, as it is quite complex. In this video and description, we will outline the fundamental steps for disassembly. Once you open the bonnet, remove the cylinder head cover, take off the coolant reservoir, remove the right-hand engine mount, and unscrew the bolts securing the upper timing chain cover. Then, proceed to remove the auxiliary belt by loosening the tensioner. After that, complete the removal of the timing chain protection cover. Position two pins in the holes on the camshaft and crankshaft pulleys to maintain the engine timing and synchronisation before removing the chain. Finally, loosen the tensioner and slide off the chain.
Updated on 22 May 2026 by ScegliAuto
Video tutorial
Related tutorials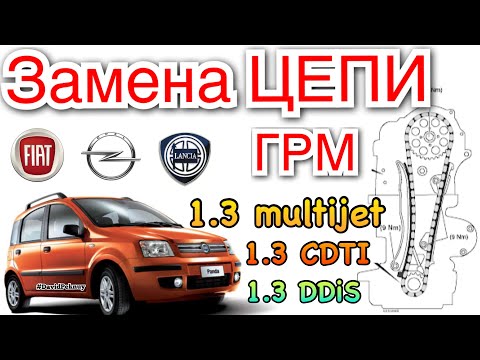
Fiat Panda
(2003-2012 /
169, MK 2)
To replace the timing chain on the Fiat Panda 1.3 Multijet, open the bonnet and remove the left side cover of the engine block, under which the timin…

Fiat Panda
(2003-2012 /
169, MK 2)
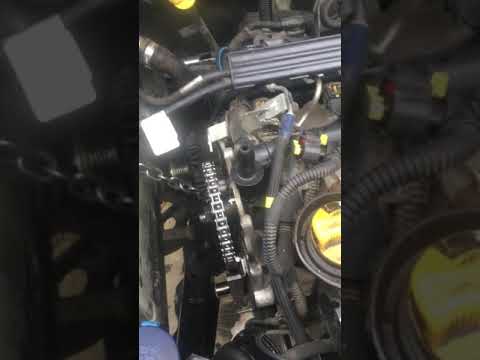
Noise or even breakage of the timing chain in Fiat 1.3 Multijet engines is a fairly common defect, especially if maintenance is neglected; to carry o…
Fiat Panda
(2003-2012 /
169, MK 2)
In this video, you can see some small but useful tips for working on the chain of the Panda MultiJet 1.3 Euro version. To find the timing plug for th…
Other guides you may be interested in
|
Where is the Fuel Filter Located in a Volvo XC60?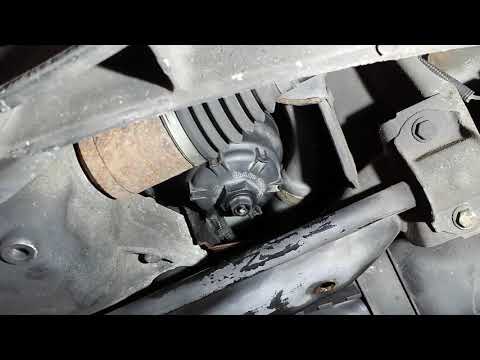
In this video, you will see where the fuel filter is located in a Volvo XC60 and how to proceed if you need to replace it. As shown, the filter is positioned at the lower part of the engine, right between the left half-shaft and the sway bar attachment. To replace the filter, first, go underneath the vehicle, taking all necessary safety precautions. Then, using an 18mm wrench, open the drain valve and allow any water present to escape. Next, unscrew the housing, remove the old filter, insert the replacement along with a new gasket, and reassemble everything. by ScegliAuto More videos
|

|
For advertising on this site Write to info@scegliauto.com
ScegliAuto is not responsible for any inaccuracy of the data in the lists. To report any inaccuracy or your business (if you own the business in question), please write to info@scegliauto.com
Number of seconds to generate the page: 0.610
(c) ScegliAuto 2026 - info@scegliauto.com - Privacy policy VAT number: IT01247470535 |
