
|
Do it yourself
| |||
| ||||


How to Replace the Front Brake Pads on a FIAT BRAVO 2
Model: Fiat Bravo
Bravo 2
- Years 2007-2014
In this video tutorial, you will see how to replace the front brake pads on a FIAT BRAVO 2. The first step is to purchase new brake pads from an authorised dealer. Lift the bonnet and secure it with the appropriate prop. Unscrew the cap of the brake fluid reservoir. Loosen the bolts of the front wheel with a 17mm socket wrench. Raise the vehicle using a jack and place safety stands under the car for added safety. Continue unscrewing the wheel bolts and then remove the wheel (to avoid accidents, lift the wheel while unscrewing the bolts). Now disconnect the wear sensor connector for the brake pads. Using a crowbar, separate the brake pads. Clean the brake caliper mounting points (use a wire brush and WD-40 spray). Unscrew the caliper attachment with a 13mm socket wrench. Remove the brake caliper (tie the caliper to the suspension using a wire, without disconnecting it from the brake hose). Remove the brake pads using a crowbar. Clean the brake caliper support and ensure the surface of the disc is clean before installing the new pads. Install the new brake pads, use a rewind tool for the pistons, and mount the brake caliper, securing it in place.
Updated on 16 June 2026 by ScegliAuto
Video tutorial
Related tutorials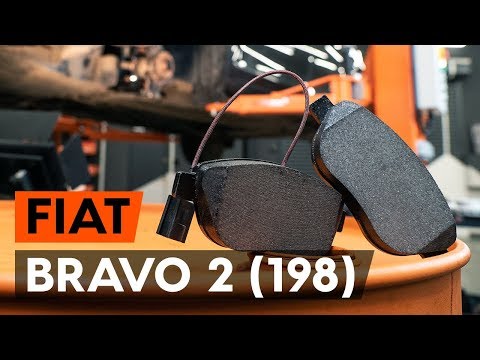
Fiat Bravo
(2007-2014 /
Bravo 2)
In this tutorial, learn how to remove and replace the front brake pads of the Fiat Bravo in simple and quick steps. First, lift the vehicle and remov…

Fiat Bravo
(2007-2014 /
Bravo 2)
In this video, you will learn how to remove and replace the rear brake pads on a Fiat Bravo. First, lift the car with a jack and remove the rear whee…
Fiat Bravo
(2007-2014 /
Bravo 2)
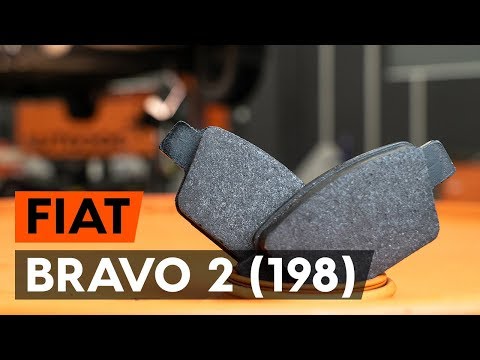
In this tutorial, you will see how to replace the rear brake pads on the Fiat Bravo. First, open the bonnet and unscrew the cap of the brake fluid re…
Other guides you may be interested in
|
How to Bleed the Clutch on a Renault Clio?
To bleed the clutch on a Renault Clio, open the bonnet to access the components located in the engine bay: here, you will need to undo the screws that secure the battery in its housing, the intake manifold, and the coolant reservoir. This will allow you to locate the pipe through which the brake fluid flows: by inserting the other end of the pipe into a container, you can press the clutch pedal to expel all the fluid until it fills the container. by ScegliAuto More videos
|

|
For advertising on this site Write to info@scegliauto.com
ScegliAuto is not responsible for any inaccuracy of the data in the lists. To report any inaccuracy or your business (if you own the business in question), please write to info@scegliauto.com
Number of seconds to generate the page: 0.349
(c) ScegliAuto 2026 - info@scegliauto.com - Privacy policy VAT number: IT01247470535 |
