
|
Do it yourself
| |||
| ||||


How to Replace the Filters in the Fiat Panda
Model: Fiat Panda
319, MK 3
- Years 2012-2026
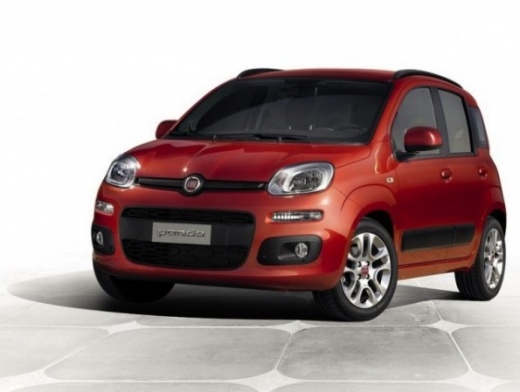
In this video tutorial, see how to replace the filters in the Fiat Panda. First, lift the car using a lift or hydraulic jack. Place a container under the oil sump to collect the used oil, unscrew the oil drain plug, and wait for all the oil to drain into the container. Next, remove the oil filter using a chain spanner. Once the old filter is unscrewed, replace it with a new one, lubricate the filter seal, and screw the filter on until it makes contact (tighten by hand without using the spanner). Screw the oil drain plug back in, just enough without overtightening. Open the oil filler cap and top up with new oil until it reaches the level indicated by the dipstick. Replace the air filter and other filters as shown in the video.
Updated on 11 July 2026 by ScegliAuto
Video tutorial
Related tutorials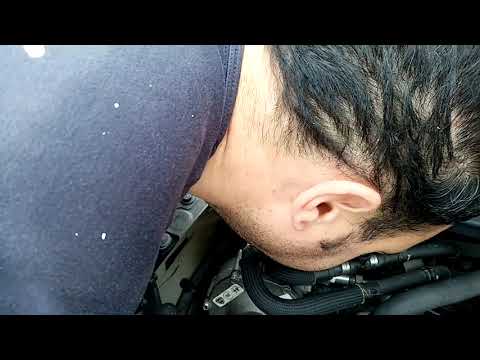
Fiat Panda
(2012-2026 /
319, MK 3)
In this video tutorial, you will see how to replace the LPG filters on a 2017 Fiat Panda by following some essential steps: Important: when replacing…

Fiat Panda
(2003-2012 /
169, MK 2)
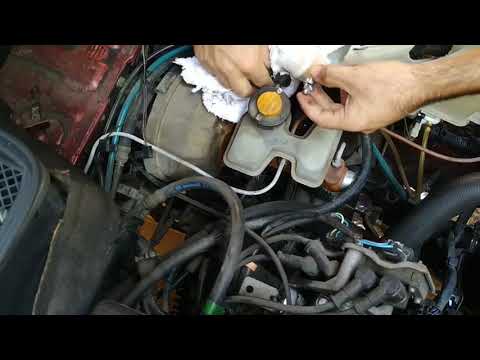
Before you can start, sit in the driver's seat of your Fiat Panda. It is strongly advised to perform this operation with the engine off, to avoid acc…
Fiat Panda
(1980-2003 /
141, MK 1)
Before you can start, open the bonnet of your Fiat Panda. Begin by unscrewing and removing the bolt that tightens the clamp securing the fuel filter.…
Other guides you may be interested in
|
Frequently Asked QuestionsHow to Replace the Diesel Filter of the Peugeot 3008 1.5 BlueHDI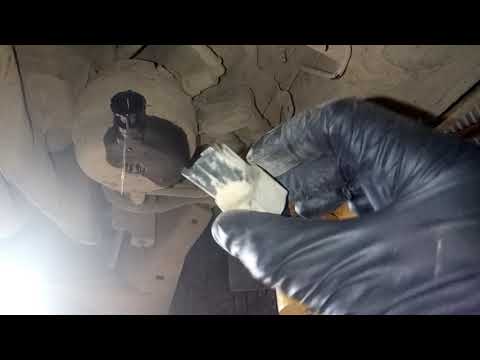
Briefly, we will see the main instructions for dismantling and replacing the diesel filter of the Peugeot 3008 1.5 BlueHDI. First, locate the diesel filter under the vehicle, so it will be necessary to lift it; then disconnect the electrical connector and the fuel lines from the filter, unscrewing the side screws to remove the cartridge, as shown in the video. At this point, replace the diesel filter with the new one, as well as with the original one; then reconnect the pipes and the electrical connector, following the video tutorial to the end! by ScegliAuto More videos
|
|
For advertising on this site Write to info@scegliauto.com
ScegliAuto is not responsible for any inaccuracy of the data in the lists. To report any inaccuracy or your business (if you own the business in question), please write to info@scegliauto.com
Number of seconds to generate the page: 0.834
(c) ScegliAuto 2026 - info@scegliauto.com - Privacy policy VAT number: IT01247470535 |
