
|
Do it yourself
| |||
| ||||


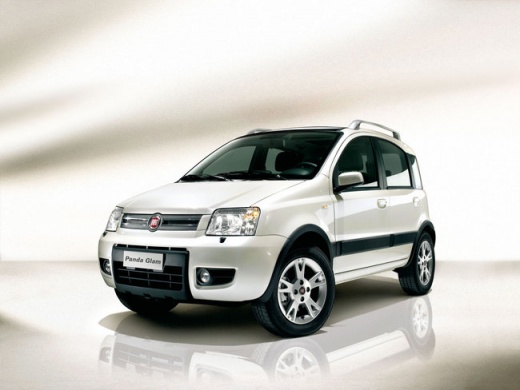
How to Replace the Airbag on a Fiat Panda Mk2
Model: Fiat Panda
169, MK 2
- Years:
2003, 2004, 2005, 2006, 2007, 2008, 2009, 2010, 2011, 2012
Video tutorial
To remove the airbag on a Panda Mk2, start by dismantling the glove compartment: disconnect the negative terminal of the battery (due to the airbag module), then externally at the drawer, find the first 2 screws at the back. Opening the drawer, you will find another screw in the centre, and two more on the left and right. On the left side of the drawer is the connector for the passenger airbag. Disconnect it. At this point, the drawer can be removed. Also disconnect the positive battery cable. Now unscrew the three screws holding the airbag module in place using a 35 mm ratchet. At this point, you can extract the airbag, possibly using a plastic spatula for assistance. Remove the connector on the right side. Pull it out, and the module will come away. If the passenger airbag warning light remains on, it means it is not connected properly.
Updated on 19 July 2026 by ScegliAuto
Related tutorials
Fiat Panda
(2012-2026 /
319, MK 3)
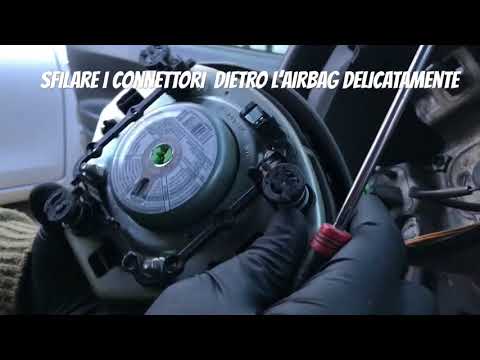
How do you remove the steering wheel airbag from a Fiat Panda? In this video, learn how to proceed: disconnect the battery terminals located in the e…
Fiat Panda
(2003-2012 /
169, MK 2)
How to remove the steering wheel airbag on a Fiat Panda? Before removing the car's steering wheel, disconnect the battery terminals located in the en…

Fiat Panda
(2003-2012 /
169, MK 2)
Before you can begin, sit in the driver's seat of your Fiat Panda. Start by turning the steering wheel 90 degrees to the right. This will give you ac…
Other guides you may be interested in
|
How to Set the Clock on a Renault Master 3
This guide shows you how to set a new time on a Renault Master 3. Start by turning on the instrument cluster of the vehicle without starting the engine. Next, using the end of the right-hand steering column stalk, scroll through the options on the display until you reach 'set time', then press the down arrow button to make the displayed time blink. Once this is done, press and hold the down arrow button to change the hour, which you can adjust using the two arrow buttons at the end of the stalk. Once the correct hour is set, press and hold the down arrow button again to move to the minutes. After setting the correct time, restart the vehicle. by ScegliAuto More videos
|
|
For advertising on this site Write to info@scegliauto.com
ScegliAuto is not responsible for any inaccuracy of the data in the lists. To report any inaccuracy or your business (if you own the business in question), please write to info@scegliauto.com
Number of seconds to generate the page: 0.166
(c) ScegliAuto 2026 - info@scegliauto.com - Privacy policy VAT number: IT01247470535 |
