
|
Do it yourself
| |||
| ||||


How to Remove the Engine Cylinder Head
Model: Fiat Multipla
MK 1
- Years 1998-2010
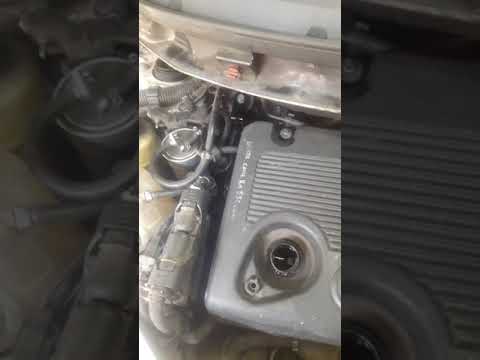
The video is a schematic sequence of detailed photos illustrating the correct order of operations for removing the cylinder head from your engine, skipping preliminary tasks such as disconnecting the spark plug leads, removing spark plugs, removing the exhaust manifold, air filter, etc...
Watch the sequence in full screen to read the notes accompanying each photograph in the video, which detail what to disconnect and from where. Each individual step is clearly illustrated and commented on. The video refers to a Fiat Multipla 1.9 JTD but gives an idea of the work required to carry out this maintenance task.
Updated on 2 February 2026 by ScegliAuto
Video tutorial
Related tutorials
Fiat Multipla
(1998-2010 /
MK 1)
In this video, learn how to dismantle and clean the methane injectors on a Fiat Multipla. Open the engine bay, lift the bonnet, secure it, and discon…

Fiat Multipla
(1998-2010 /
MK 1)
How to remove the EGR valve fitted to a Fiat Multipla? Lift the bonnet and secure it, then use a screwdriver to unscrew the locking pins of the venti…
Fiat Multipla
(1998-2010 /
MK 1)
To be able to replace the upper engine support of the Fiat Multipla, you need to open the hood and unhook the four screws that secure the plastic cov…
Other guides you may be interested in
|
Removing the Front Arm Bushing of a Hyundai Getz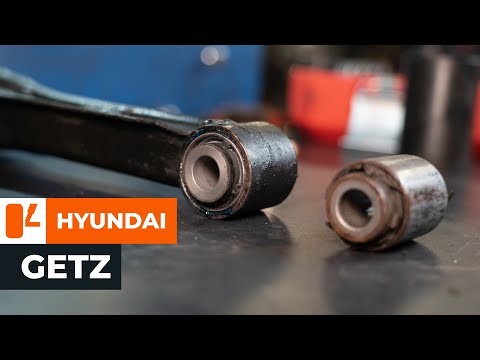
Let's look at removing the front arm bushing of a Hyundai Getz. First, place the car on a column lift and loosen the wheel nuts with a telescopic spanner, then remove the wheel. Use a socket spanner to unscrew the lower securing bolt of the arm and the bolt mounted under the wheel hub, then unscrew the bolts on the upper part of the arm (as shown in the video). Remove the bushing from the bolt housing. Always compare the parts to be replaced with the new ones; if they are suitable, you can install them. Start the installation of the new part: fit the new bushing and tighten all bolts to the specified torque. Double-check the correct tightening of the parts. Refit the wheel to complete the job. by ScegliAuto More videos
|
|
For advertising on this site Write to info@scegliauto.com
ScegliAuto is not responsible for any inaccuracy of the data in the lists. To report any inaccuracy or your business (if you own the business in question), please write to info@scegliauto.com
Number of seconds to generate the page: 0.088
(c) ScegliAuto 2026 - info@scegliauto.com - Privacy policy VAT number: IT01247470535 |