
|
Do it yourself
| |||
| ||||


Faulty Blue & Me Control Unit on a Fiat 500 with Mileage Flashing on the Dashboard
Model: Fiat 500
312
- Years 2007-2024
In this video, we see the cause of the flashing mileage on the dashboard of a Fiat 500. Diagnosing with an OBD SCAN revealed error codes P0022 and U1733; along with the flashing mileage, an abnormal battery drain and non-functioning Bluetooth were also noted. The problem is the Convergence Blue&Me control unit located on the passenger side next to the glove compartment: there, you will find a cover, unscrew the 10 mm nut, and remove the carpet from underneath to pull out the control unit. If you want to buy a new one, you can find it on centralinemotore.com with the code 51884624 for £210.00 with free shipping. Alternatively, refurbished units are available online at various prices. After installing it, you need to configure it by going into diagnostics/configuration and then checking on the vehicle. Operation completed successfully.
Updated on 9 September 2026 by ScegliAuto
Video tutorial
Related tutorials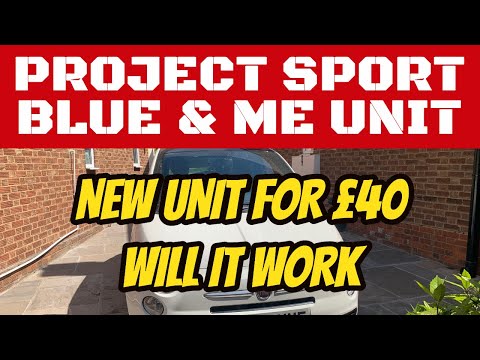
Fiat 500
(2007-2021 /
312)
To replace the Blue&Me control unit in the Fiat 500, you need to remove the inner door panel by loosening the appropriate fixing screws and disconnec…

Fiat 500
(2007-2024 /
312)
Today's main steps will show us how to disassemble and replace the Blue&Me multimedia system control unit of the Fiat 500 Abarth. First of all, we wi…

Fiat 500
(2007-2024 /
312)
In order to reset the Blue&Me system of the Fiat 500, you need to turn on the instrument panel by inserting the ignition key into the corresponding s…
Other guides you may be interested in
|
Frequently Asked QuestionsHow to replace the horn on a Renault Duster - Dacia Duster
Today's main instructions will show you the procedure for removing and replacing the horn or sound signal on the Renault Duster, as well as the Dacia Duster. First, open the bonnet of the vehicle and start removing the front bumper by unscrewing all the fixing screws; you will find the horn right in front of the radiator, as shown in the video. At this point, disconnect the electrical connector and unscrew the bracket screw to remove and replace the horn with the new one; finally, reassemble the front bumper! by ScegliAuto More videos
|
|
For advertising on this site Write to info@scegliauto.com
ScegliAuto is not responsible for any inaccuracy of the data in the lists. To report any inaccuracy or your business (if you own the business in question), please write to info@scegliauto.com
Number of seconds to generate the page: 0.237
(c) ScegliAuto 2026 - info@scegliauto.com - Privacy policy VAT number: IT01247470535 |
