
|
Do it yourself
| |||
| ||||


How to Remove a Front Wing
Model: Ford Focus
MK 1
- Years 1998-2004
This tutorial explains how to remove the front wing of a Ford Focus. First, lift the vehicle with a jack and remove the wheel from the wing you want to take off. Unscrew the three Torx screws located in the centre of the wing. Also, remove the small bolt situated at the bottom of the wing. Take out the internal rubber cover. Remove the three 10 mm screws from the front of the wing that are attached to the bumper, then unscrew the bolt that connects the wing to the chassis near the headlamp. By lowering the bumper a few centimetres, you will be able to access the bolt that connects the wing to the headlamp. At this point, unscrew the four bolts positioned at the top of the wing. Next, using a flathead screwdriver, remove the fabric cover: you will find a yellow bolt that also needs to be removed. Now go back to the bottom of the wing and remove the foam shield behind which is the last bolt to be removed. Now pull the wing towards you, which should come off without difficulty.
Updated on 7 February 2026 by ScegliAuto
This video is currently unavailable
Related tutorials
Ford Focus
(1998-2004 /
MK 1)
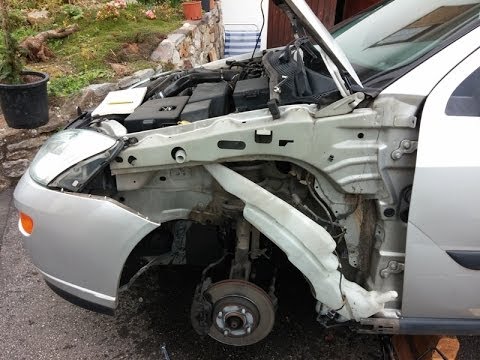
In this video, you will find the main instructions to remove the front wing on a first-generation Ford Focus. First, lift the vehicle at the front an…
Ford Focus
(2011-2018 /
MK 3)
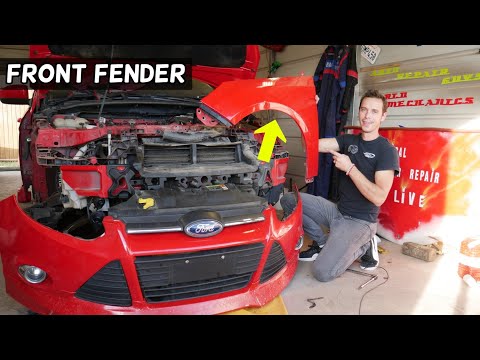
In this video tutorial, you will learn how to remove the front wing on a third-generation Ford Focus, following the instructions below. First, you ne…
Ford Focus
(1998-2004 /
MK 1)
Let's see how to remove the wing from a Ford Focus. Lift the car with a jack or column lift, then remove the wheel to access underneath the wing. Uns…
Other guides you may be interested in
|
How to Open the Bonnet of a Renault Megane if the Lever is Broken?
If the lever that unlocks the bonnet of the Renault Megane is broken or not functioning, there is an emergency procedure to unlock the mechanism: remove the right front grille located at the top of the bumper. Once the grille is removed, you can locate the actuator mechanism: by pulling the spring in this position, you can unlock the actuator, allowing you to lift the bonnet and access the components located inside the engine compartment. You can then close the bonnet simply by lowering it. by ScegliAuto More videos
|
|
For advertising on this site Write to info@scegliauto.com
ScegliAuto is not responsible for any inaccuracy of the data in the lists. To report any inaccuracy or your business (if you own the business in question), please write to info@scegliauto.com
Number of seconds to generate the page: 0.066
(c) ScegliAuto 2026 - info@scegliauto.com - Privacy policy VAT number: IT01247470535 |
