
|
Do it yourself
| |||
| ||||


How to Replace the Instrument Cluster Bulbs in the Ford Explorer
Model: Ford Explorer
MK 4, U251
- Years:
2006, 2007, 2008, 2009, 2010
Video tutorial
In this tutorial, you will learn how to replace the instrument cluster bulbs in the Ford Explorer, a very simple and quick operation. Start by unscrewing the two screws located at the bottom of the steering column, then remove the cover and take out the two additional screws indicated. Once done, unclip the instrument cluster cover and remove the cluster by unscrewing the relevant screws. To extract the bulbs from the housing, simply grip them with pliers and turn them slightly counterclockwise. Finally, preferably use LED replacements to reduce power consumption.
Updated on 9 August 2026 by ScegliAuto
Related tutorials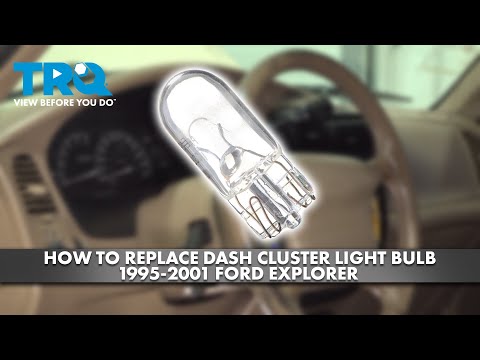
Ford Explorer
(1995-2001 /
MK 2, Un150, Un105)
In this tutorial, you will see how to replace the instrument panel bulbs in the Ford Explorer, a very simple and quick operation. First, ensure that …

Ford Explorer
(2006-2010 /
MK 4, U251)
In this video, see how to disassemble and replace the rear light bulbs on the fourth series Ford Explorer in simple steps. First, open the rear tailg…

Ford Explorer
(2011-2019 /
MK 5, U502)
In this tutorial, see how to replace the rear light bulbs on a Ford Explorer. This is a very simple and quick operation. Start by opening the boot li…
Other guides you may be interested in
|
Where to Find and How to Remove the Spare Wheel of a Peugeot 5008?
The spare wheel of a Peugeot 5008 is located under the rear of the vehicle. To remove it, you need to lift the third row of seats to access the fixing bolt that holds the spare wheel in position. Using the correct spanner, proceed to unscrew the fixing bolt until the wheel is no longer secured. At this point, you can extract the spare wheel from underneath the vehicle. Once you have completed this step, you are free to fit the spare wheel. Ensure you correctly remount the spare wheel and securely tighten the fixing bolt when you are finished. by ScegliAuto More videos
|
|
For advertising on this site Write to info@scegliauto.com
ScegliAuto is not responsible for any inaccuracy of the data in the lists. To report any inaccuracy or your business (if you own the business in question), please write to info@scegliauto.com
Number of seconds to generate the page: 0.070
(c) ScegliAuto 2026 - info@scegliauto.com - Privacy policy VAT number: IT01247470535 |
