
|
Do it yourself
| |||
| ||||


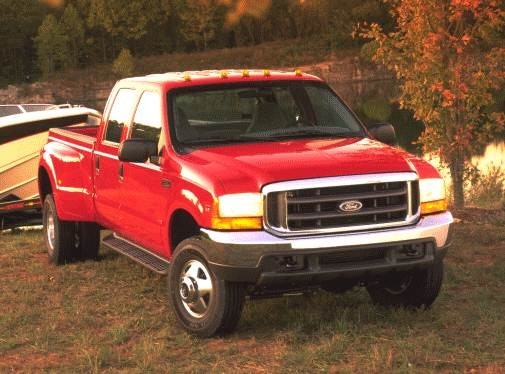
A Short Circuit Problem with the Fuse Panel on the Ford F350 Super Duty
Model: Ford F-350
Phn131
- Years:
1999, 2000, 2001, 2002, 2003, 2004, 2005, 2006, 2007
Video tutorial
In this video, we see what could be causing a short circuit on a Ford F350 Super Duty: the battery drains overnight, the headlights turn off, indicating a short circuit issue. The problem might be that water has entered the fuse panel and corroded all the electrical contacts. Fortunately, this model has a backup braking system that takes control of the brake booster; otherwise, it could have led to a serious problem. Inside the box, the electrical contacts are made up of six layers, and all were wet. Our YouTuber removed them and sprayed them with WD-40, but could not remove them all without breaking them, so he had to buy a new box. These boxes are very expensive: you can find them on AliExpress with the code 1005002545221933 for $203.83 plus $39.62 for shipping.
Updated on 20 August 2026 by ScegliAuto
Related tutorials
Ford F-350
(1999-2007 /
Phn131)
In this video, see the diagram and placement of the fuse boxes in the Ford F350 Super Duty: the fuse panel is located at the lower left of the steeri…

Ford F-350
(2017-2023 /
P558)
This guide shows how to replace the front headlight of a Ford F350 Super Duty p558. After opening the hood and removing the radiator protective panel…

Ford F-350
(2011-2016 /
P473)
This guide shows how to replace the outside rearview mirror of the Ford F350 Super Duty p473. First, unscrew the four screws securing the inner door …
Other guides you may be interested in
|
How to Remove the Rear Seat of a Hyundai Tucson?
To remove the rear seat of a Hyundai Tucson, follow these steps. Start by moving the front seats to their most forward position to gain space. Next, locate the release lever on the underside of the rear seat, near the floor. Press this lever down while pulling the seat upwards to unlock it from the anchor pins. Once unlocked, tilt the seat upwards and forwards to remove it from its position. Repeat this process for both sides of the rear seat. Be careful of any electrical cables or components that may be connected to the seat during removal. Once the rear seat is removed, the disassembly is complete. by ScegliAuto More videos
|
|
For advertising on this site Write to info@scegliauto.com
ScegliAuto is not responsible for any inaccuracy of the data in the lists. To report any inaccuracy or your business (if you own the business in question), please write to info@scegliauto.com
Number of seconds to generate the page: 0.061
(c) ScegliAuto 2026 - info@scegliauto.com - Privacy policy VAT number: IT01247470535 |
