
|
Do it yourself
| |||
| ||||


Removal and Replacement of the Rear Bumper
Model: Ford Focus
MK 3
- Years 2011-2018
First, unscrew the two screws that secure the bumper, located inside the wheel arch (bottom position at the rear). Also, unscrew the two screws next to the rear light cluster from the inside. Now remove the two clips that secure the bumper at the bottom. Do this using a small plastic pry tool, taking care. Finally, you need to remove the left and right rear light clusters. To do this, open the boot lid and, at the location of the lights, remove the plastic covers, rear and side, that allow access to the clips securing the light cluster in place. Disconnect the cables and remove them. At the location of the lights, unlock the bumper's catch using a screwdriver, and the bumper can be removed from its housing. To fit the new bumper, simply follow the same operations in reverse order. The car on which this maintenance operation is performed, as seen in the images, is a Ford Focus.
Updated on 21 February 2026 by ScegliAuto
Video tutorial
Related tutorials
Ford Focus
(2011-2018 /
MK 3)
Replacing the rear bumper on a Ford Focus if damaged or if you need to remove something inside. Open and lift the tailgate, then use a screwdriver or…

Ford Focus
(2018-2025 /
MK 4)
Today we will discover the guide and instructions on how to disassemble and replace the rear bumper of the Ford Focus. First, we open the rear trunk …
Ford Focus
(1998-2004 /
MK 1)
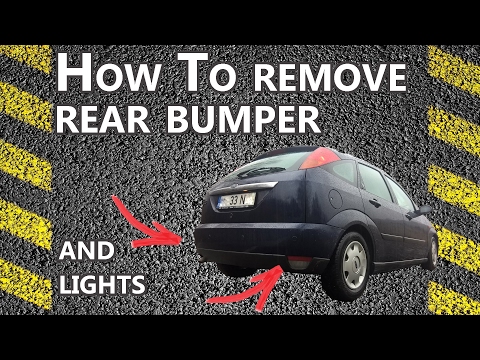
Replacing the damaged bumper mounted at the rear of a Ford Focus? Here’s how to remove it. Open the tailgate and detach the seal from the edge of the…
Other guides you may be interested in
|
How to Check the Oil Level on a Jeep Renegade?
To check the oil level on a Jeep Renegade, you need to open the bonnet to access the components inside the engine bay: on the lower left side of the engine block, you will find the dipstick for checking the level. This should be pulled out and thoroughly cleaned with a cloth: once cleaned, reinsert it back into its tube and pull it out immediately after. This way, you can check that the oil mark is between the minimum and maximum levels; finally, you can place the dipstick back in its tube. by ScegliAuto More videos
|

|
For advertising on this site Write to info@scegliauto.com
ScegliAuto is not responsible for any inaccuracy of the data in the lists. To report any inaccuracy or your business (if you own the business in question), please write to info@scegliauto.com
Number of seconds to generate the page: 0.780
(c) ScegliAuto 2026 - info@scegliauto.com - Privacy policy VAT number: IT01247470535 |
