
|
Do it yourself
| |||
| ||||



Replacement of the front bumper of a Honda Accord after an accident
Model: Honda Accord
MK 8
- Years:
2008, 2009, 2010, 2011, 2012, 2013
Video tutorial
In this video we see how to replace the airbag of a Honda Accord after an accident. This is the easiest part, because afterwards a meticulous job must be done, going to search for every part that generates SRS codes and then erasing crash data, in order to turn off the warning light; we also have to reteach the system to detect occupants again; in fact, if these problems are not resolved upstream, then the airbag will not work and the warning light will continue to remain on. For the rest, it is only a matter of removing the old airbag, disconnecting the battery, removing the holding screws on the sides of the steering wheel and then removing the airbag. We will have to disconnect the electrical connector and then reconnect the new one.
Posted on 25 March 2025 by ScegliAuto
Related tutorials
Honda Accord
(2012-2017 /
MK 9)
Let's see how to reset the airbag light after an accident, in this case on a Honda Accord: the SRS system includes: airbags, seatbelt pretensioners, …

Honda Accord
(1993-1998 /
MK 5)
First, purchase the anti-roll bar overhaul kit, which includes the rubber bushes for the mounting flanges and the bushings for the ends. Lift the veh…
Honda Accord
(2002-2007 /
MK 7)
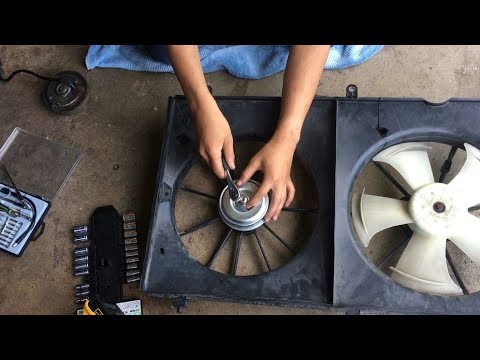
Before you start, open the bonnet of your Honda Accord. Begin by disconnecting the hoses connected to the radiator fan, then unplug the electrical co…
Other guides you may be interested in
|
How to Remove the Rear Seat of a Hyundai Tucson?
To remove the rear seat of a Hyundai Tucson, follow these steps. Start by moving the front seats to their most forward position to gain space. Next, locate the release lever on the underside of the rear seat, near the floor. Press this lever down while pulling the seat upwards to unlock it from the anchor pins. Once unlocked, tilt the seat upwards and forwards to remove it from its position. Repeat this process for both sides of the rear seat. Be careful of any electrical cables or components that may be connected to the seat during removal. Once the rear seat is removed, the disassembly is complete. by ScegliAuto More videos
|
|
For advertising on this site Write to info@scegliauto.com
ScegliAuto is not responsible for any inaccuracy of the data in the lists. To report any inaccuracy or your business (if you own the business in question), please write to info@scegliauto.com
Number of seconds to generate the page: 0.071
(c) ScegliAuto 2026 - info@scegliauto.com - Privacy policy VAT number: IT01247470535 |
