
|
Do it yourself
| |||
| ||||


Installation of Aftermarket Xenon Headlight Kit
Model: Honda Civic
MK 5
- Years 1992-1995
Open the bonnet and disconnect the negative terminal of the battery to isolate it.
Unclip and remove the air intake duct to gain easier access to the passenger side headlight. Then remove the rubber protective cap from the bulb holder and disconnect the power connector from the bulb (H4 type). Prepare the power wiring for the Xenon control units: the two eyelets should be connected to the battery terminals, the shorter wiring will power the control unit for the passenger side headlight, while the longer one is for the driver side headlight. Next, make the electrical connections of the power wiring according to the attached diagram (red for positive battery, black for chassis ground) and secure it with cable ties to reach both headlights with their respective connectors, avoiding interference with hot areas or moving parts. Use the supplied brackets to secure the control units to the vehicle's chassis near the headlights, connecting the power wiring connectors. Finally, replace the original bulbs with those supplied in the Xenon kit and connect them to the wiring of the respective control units (the power connector for the passenger side headlight should be connected to the kit's power wiring, while the one for the driver side headlight should be properly insulated with tape). Then turn on the headlights to check their proper operation.
Updated on 3 February 2026 by ScegliAuto
Video tutorial
Related tutorials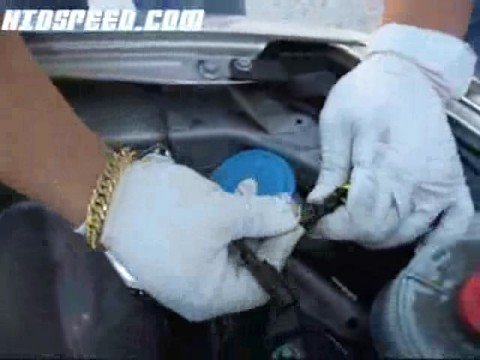
Honda Civic
(1995-2001 /
MK 6)
First, check the compatibility of the Xenon kit with the vehicle, ensure all components are present (two bulbs, two control units, and the wiring har…
Honda Civic
(1995-2001 /
MK 6)
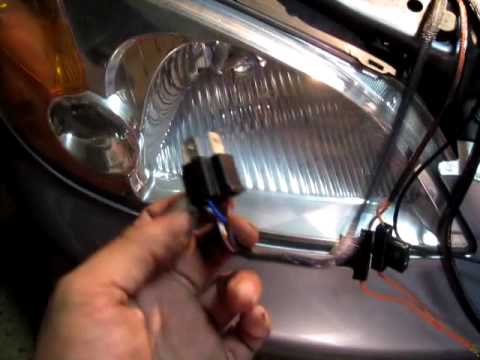
Open the front bonnet and remove the protective cap from the headlight bulb holder; then disconnect the H4 bulb plug to be replaced with that of the …
Honda Civic
(1995-2001 /
MK 6)
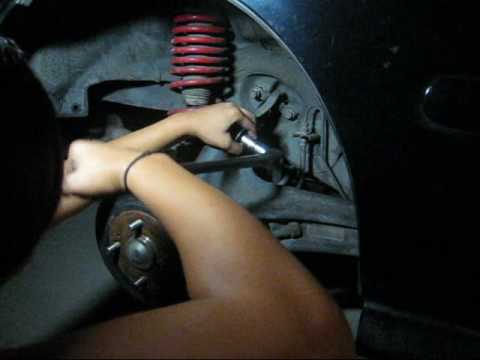
Lift the vehicle with a jack at the wheel where you will perform the installation (it is recommended to use a car stand for safety) and remove the wh…
Other guides you may be interested in
|
How to Open a Stuck Boot on the Peugeot 407?
On the Peugeot 407, the boot may become stuck, possibly due to a problem with the control button or the lock actuator. In such cases, you can perform an emergency opening by following the simple procedure shown in this tutorial. First, open the rear doors, then lower the seat back by operating the release lever. Next, go inside the boot, locate the lock, and manually operate it using a flathead screwdriver. The boot will then be free to open. by ScegliAuto More videos
|
|
For advertising on this site Write to info@scegliauto.com
ScegliAuto is not responsible for any inaccuracy of the data in the lists. To report any inaccuracy or your business (if you own the business in question), please write to info@scegliauto.com
Number of seconds to generate the page: 0.172
(c) ScegliAuto 2026 - info@scegliauto.com - Privacy policy VAT number: IT01247470535 |
