
|
Do it yourself
| |||
| ||||


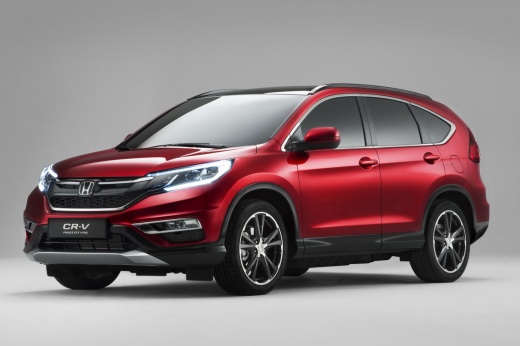
How to Install the Boot Divider Net on Honda CR-V
Model: Honda CR-V
MK 4
- Years:
2012, 2013, 2014, 2015, 2016, 2017
Video tutorial
To install a divider net, perform these operations. The kit shown in the video includes all components for proper installation; first, fold down the rear seat backs, take the grille and assemble it with the wall spacers as shown in the tutorial. Now attach the two straps, first securing them to the lower supports of the boot, then inserting them into the appropriate slots of the grille and securing them with the two screws provided. Once correctly positioned, tighten all the washers well and raise the rear seat backs.
Updated on 10 March 2026 by ScegliAuto
Related tutorials
Honda CR-V
(2007-2012 /
MK 3)
In this tutorial we can see how to disassemble the side panel of the trunk in the Honda CR-V, a very simple and quick operation. First of all, we ope…

Honda CR-V
(2012-2017 /
MK 4)
On the Honda CR-V, the boot lid may become stuck, for example, due to a fault with the control button or the lock actuator. In this case, you can sti…

Honda CR-V
(2017-2022 /
MK 5)
Fitting roof bars on a Honda CR-V? Let’s look at the installation of the components on the roof of the Honda. Mount the roof bar kit with the bars ad…
Other guides you may be interested in
|
How to Remove the Rear Seat of a Hyundai Tucson?
To remove the rear seat of a Hyundai Tucson, follow these steps. Start by moving the front seats to their most forward position to gain space. Next, locate the release lever on the underside of the rear seat, near the floor. Press this lever down while pulling the seat upwards to unlock it from the anchor pins. Once unlocked, tilt the seat upwards and forwards to remove it from its position. Repeat this process for both sides of the rear seat. Be careful of any electrical cables or components that may be connected to the seat during removal. Once the rear seat is removed, the disassembly is complete. by ScegliAuto More videos
|
|
For advertising on this site Write to info@scegliauto.com
ScegliAuto is not responsible for any inaccuracy of the data in the lists. To report any inaccuracy or your business (if you own the business in question), please write to info@scegliauto.com
Number of seconds to generate the page: 0.040
(c) ScegliAuto 2026 - info@scegliauto.com - Privacy policy VAT number: IT01247470535 |
