
|
Do it yourself
| |||
| ||||


Fitting the Original Tow Bar
Model: Honda CR-V
MK 3
- Years 2007-2012
This video dedicated to the Honda CR-V illustrates the procedure for fitting the original tow bar. The job is of medium difficulty and takes about an hour and a half. The advantage of installing an original accessory rather than one from a generic manufacturer is that the vehicle already has the provisions for the electrical system, so there's no need to cut or splice any wires; just connect the connectors. To install the tow bar, you need to remove the rear bumper and the trim on the left side of the boot and the cabin. Start with the bumper. The bumper is secured with 4 visible bolts, two screws at the bottom, plus a series of clips on the sides. Dismantle the trim on the left side of the boot and the cabin, as well as the lower panel of the driver's dashboard. If possible, lift the vehicle on a ramp and disconnect the exhaust tailpipe. Position the tow bar and secure it with the supplied bolts. Run the wiring along the route specified by the manufacturer, securing it with cable ties. Fix the light control unit to the left side and connect it. Bring the wiring to the fuse box, connect the connectors, and insert the 5 A fuse in the position specified by the manufacturer. Check that everything works correctly and reassemble. A PDF file in English with complete installation instructions is available at the link visible at the beginning of the video. Good luck!
Updated on 4 February 2026 by ScegliAuto
Video tutorial
Related tutorials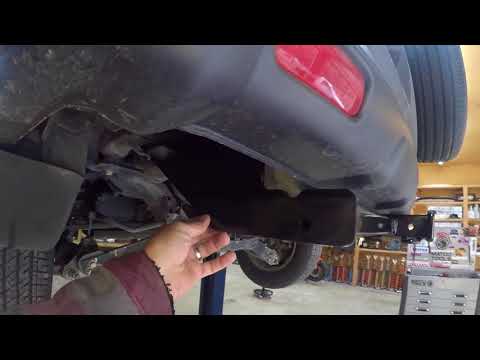
Honda CR-V
(2002-2007 /
MK 2)
In today's video, we will see the guide to install a tow bar on the Honda CR-V in simple steps. First, move to the rear of your vehicle and start ins…
Honda CR-V
(2012-2017 /
MK 4)
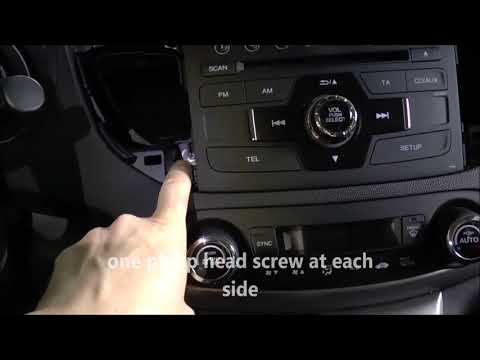
How do you remove the original radio on a Honda CR-V? First, use a plastic lever to remove the side cover of the radio (the air vents), then, with a …
Honda CR-V
(2002-2007 /
MK 2)
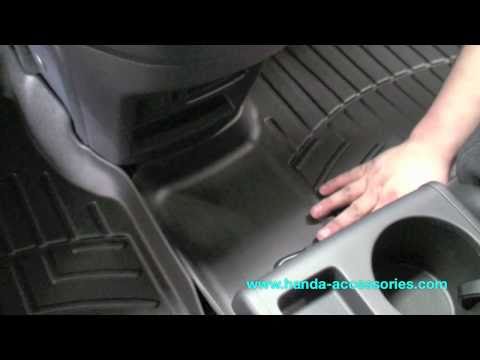
Using rubber mats over the original carpet mats is an absolutely smart solution; this way, you preserve the original mats from dirt and wear, and pre…
Other guides you may be interested in
|
How to Open a Stuck Boot on the Peugeot 407?
On the Peugeot 407, the boot may become stuck, possibly due to a problem with the control button or the lock actuator. In such cases, you can perform an emergency opening by following the simple procedure shown in this tutorial. First, open the rear doors, then lower the seat back by operating the release lever. Next, go inside the boot, locate the lock, and manually operate it using a flathead screwdriver. The boot will then be free to open. by ScegliAuto More videos
|

|
For advertising on this site Write to info@scegliauto.com
ScegliAuto is not responsible for any inaccuracy of the data in the lists. To report any inaccuracy or your business (if you own the business in question), please write to info@scegliauto.com
Number of seconds to generate the page: 0.819
(c) ScegliAuto 2026 - info@scegliauto.com - Privacy policy VAT number: IT01247470535 |
