
|
Do it yourself
| |||
| ||||



Installation of Parking Sensors
Model: Honda CR-V
MK 3
- Years:
2007, 2008, 2009, 2010, 2011, 2012
Video tutorial
The installation of parking sensors requires the removal of the rear bumper: start by removing the internal covers of the boot to access the bumper fastening bolts; you also need to remove the side panel (both lower and upper). Then proceed to remove the bumper by taking out all the fastening bolts (including those inside the wheel arches and underneath the bumper itself). Apply double-sided tape on the inner side panel to secure the wiring of the sensors and the control unit, fastening them with cable ties; then drill holes in the upper side cover to house the buzzer and connect it to the control unit. Position the wiring to connect to each parking sensor, securing it with the appropriate cable guides. Finally, drill 24 mm holes at the pre-marked points inside the bumper; then insert the sensors and their securing clips and remove the polystyrene part of the inner cover that interferes with the sensors; connect the wiring plugs and reassemble everything.
Updated on 7 February 2026 by ScegliAuto
Related tutorials
Honda CR-V
(2023-2026 /
MK 6, RS)
In this video, we will see how to temporarily pause the sound of the parking sensors in certain situations where the continuous beeping can be more o…
Honda CR-V
(2007-2012 /
MK 3)
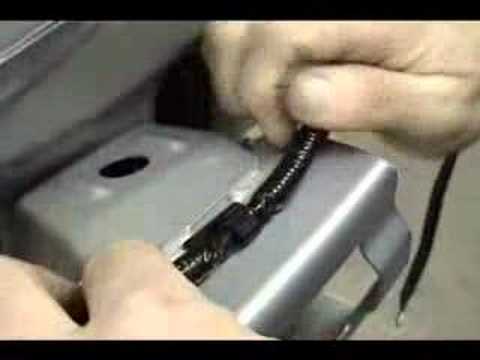
This video shows how to fit parking sensors to the rear of a Honda CR-V. The first part of the video shows (in fast motion) how to remove all the int…

Honda CR-V
(2017-2022 /
MK 5)
Today's procedure and steps will allow us to reset the tire pressure warning of the Honda CR-V; before resetting the TPMS sensors, it is necessary th…
Other guides you may be interested in
|
How to Remove the Rear Seat of a Hyundai Tucson?
To remove the rear seat of a Hyundai Tucson, follow these steps. Start by moving the front seats to their most forward position to gain space. Next, locate the release lever on the underside of the rear seat, near the floor. Press this lever down while pulling the seat upwards to unlock it from the anchor pins. Once unlocked, tilt the seat upwards and forwards to remove it from its position. Repeat this process for both sides of the rear seat. Be careful of any electrical cables or components that may be connected to the seat during removal. Once the rear seat is removed, the disassembly is complete. by ScegliAuto More videos
|
|
For advertising on this site Write to info@scegliauto.com
ScegliAuto is not responsible for any inaccuracy of the data in the lists. To report any inaccuracy or your business (if you own the business in question), please write to info@scegliauto.com
Number of seconds to generate the page: 0.029
(c) ScegliAuto 2026 - info@scegliauto.com - Privacy policy VAT number: IT01247470535 |
