
|
Do it yourself
| |||
| ||||


How to Install the Control Unit and Parking Sensors
Model: Honda CR-V
MK 3
- Years 2007-2012
This video shows how to fit parking sensors to the rear of a Honda CR-V. The first part of the video shows (in fast motion) how to remove all the interior trims from the back of the vehicle to find the necessary spaces for placing the control unit, sensors, and connecting cables. The control unit cables must be connected to those on the inner side, then prepare the housing for the control unit: first, measure the control unit, then, taking this into account, drill the inner panel (the one corresponding to the small side window) and mount the control unit itself, passing its cable through one of the drilled holes. Now reassemble the panel. The connection between the control unit and the sensors should run along the inner edge of the rear bumper. After marking with a marker the position where the sensors will be mounted, use a drill to make guide holes and holes for their placement. Once the sensors are inserted, a polystyrene spacer will need to be constructed to place between the bumper and the cross member. At this point, reassemble all components as they were previously.
Updated on 4 February 2026 by ScegliAuto
Video tutorial
Related tutorials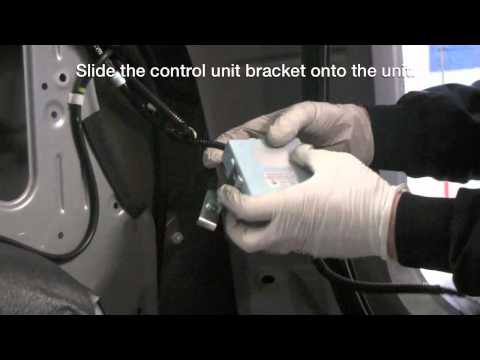
Honda CR-V
(2007-2012 /
MK 3)
The installation of parking sensors requires the removal of the rear bumper: start by removing the internal covers of the boot to access the bumper f…
Honda CR-V
(2023-2026 /
MK 6, RS)
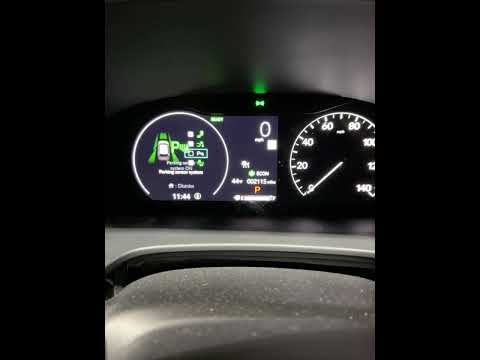
In this video we see how we can temporarily pause the sound of parking sensors in certain situations where the continuous beep can be just annoying, …

Honda CR-V
(2012-2017 /
MK 4)
Replacing the headlight bulbs with LED rather than xenon will give the vehicle a more modern and appealing look while improving visibility; open the …
Other guides you may be interested in
|
How to Open a Stuck Boot on the Peugeot 407?
On the Peugeot 407, the boot may become stuck, possibly due to a problem with the control button or the lock actuator. In such cases, you can perform an emergency opening by following the simple procedure shown in this tutorial. First, open the rear doors, then lower the seat back by operating the release lever. Next, go inside the boot, locate the lock, and manually operate it using a flathead screwdriver. The boot will then be free to open. by ScegliAuto More videos
|

For advertising on this site Write to info@scegliauto.com
ScegliAuto is not responsible for any inaccuracy of the data in the lists. To report any inaccuracy or your business (if you own the business in question), please write to info@scegliauto.com
Number of seconds to generate the page: 0.178
(c) ScegliAuto 2026 - info@scegliauto.com - Privacy policy VAT number: IT01247470535 |
