
|
Do it yourself
| |||
| ||||


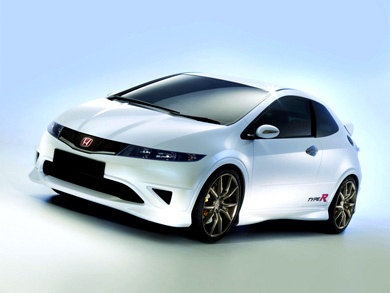
How to Replace the Brake Light Bulbs on a Honda Civic?
Model: Honda Civic
MK 8
- Years:
2006, 2007, 2008, 2009, 2010, 2011, 2012
Video tutorial
As seen in this tutorial, replacing the brake light bulbs on a Honda Civic is a straightforward and quick task. Before proceeding, ensure the key is not in the ignition for safety. Start by opening the boot lid, then remove the internal cover by taking out the indicated clips and locate the bulb in question, which is the one positioned highest. To remove it, simply grasp it and turn it slightly counterclockwise. Avoid touching the glass of the replacement bulb directly with bare hands, as any residues may cause it to overheat.
Updated on 16 June 2026 by ScegliAuto
Related tutorials
Honda Civic
(2012-2015 /
MK 9)
In this guide, you will learn how to correctly replace the third brake light on your Honda Civic. First, park the car on a flat surface, then go outs…

Honda Civic
(2006-2012 /
MK 8)
To replace the third brake light bulb in a Honda Civic, lift the boot lid and remove the inner panel to access the components underneath. Once the pa…

Honda Civic
(2006-2012 /
MK 8)
To replace the third brake light bulb on a Honda Civic, open the rear hatch, so you can detach the clips that secure the upper part of the internal t…
Other guides you may be interested in
|
How to reset the tyre pressure warning light on the Kia Niro EV?
To reset the tyre pressure warning light on the Kia Niro EV, inflate the tyres until they reach the correct pressure value. This value is indicated on the sticker attached to the driver's door pillar. Once the tyres are inflated, turn on the instrument cluster to check that the warning light has completely disappeared from the display. If it is still present, you may need to drive for a few miles to ensure it disappears completely from the screen. by ScegliAuto More videos
|
|
For advertising on this site Write to info@scegliauto.com
ScegliAuto is not responsible for any inaccuracy of the data in the lists. To report any inaccuracy or your business (if you own the business in question), please write to info@scegliauto.com
Number of seconds to generate the page: 0.289
(c) ScegliAuto 2026 - info@scegliauto.com - Privacy policy VAT number: IT01247470535 |
