
|
Do it yourself
| |||
| ||||


Instructions for Replacing Front Headlights
Model: Hyundai Accent
MK 1, LC
- Years 1999-2005
If the headlights have become particularly yellowed and cloudy, polishing may not be sufficient to restore them, so the best solution is to replace them. Removing the headlights is very simple as they are secured with only two bolts, and it is not necessary to remove the front trim to extract them. Just remove the pressure clip that secures the trim to the grille, near the headlight housing, to move it enough for headlight extraction. Once the trim clips are removed, unscrew the headlight mounting bolts and pull the headlight away from its housing just enough to disconnect the connectors and remove it completely. Reverse the procedure to install the new headlights, bringing them close to the housing, connecting the connectors, and securing them with the respective bolts before reapplying the pressure clips to the trim.
Updated on 17 February 2026 by ScegliAuto
Video tutorial
Related tutorials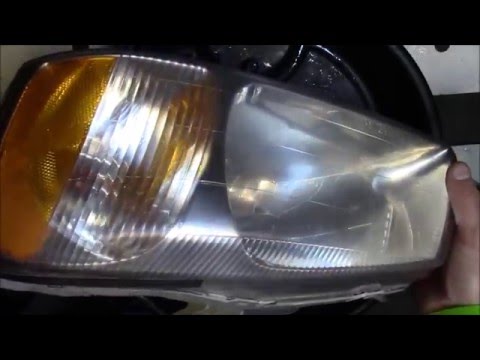
Hyundai Accent
(1999-2005 /
MK 1, LC)
It is quite common for front headlights to become cloudy due to exposure to sunlight, weather conditions, and often the corrosive action of some car …
Hyundai Accent
(1999-2005 /
MK 1, LC)
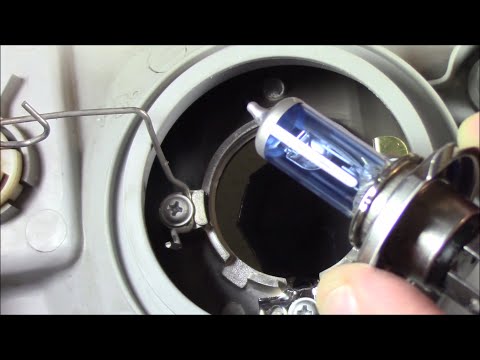
To comfortably replace the front headlamp bulbs, it is suggested to remove the headlamps themselves as this is a very simple operation; start by open…
Hyundai Accent
(1999-2005 /
MK 1, LC)
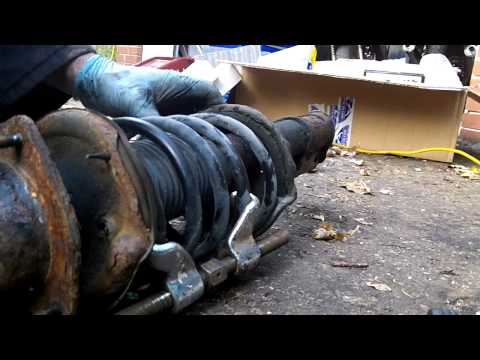
Lift the vehicle on suitable axle stands and remove the front wheel; then proceed to unscrew the mounting bolts of the shock absorber from the hub su…
Other guides you may be interested in
|
Fuses Location and Diagram for the Volkswagen Crafter
In this guide, we will look at the location of the fuse boxes and how to find their diagram for the Volkswagen Crafter. First, get inside the vehicle and start by removing the plastic cover found under the steering wheel, to access the internal fuse box; you will find another fuse box in the engine compartment by removing the plastic cover located next to the battery. At this point, use the owner's manual to find the fuse diagram, which will allow you to identify and replace any blown fuses with new ones! by ScegliAuto More videos
|
|
For advertising on this site Write to info@scegliauto.com
ScegliAuto is not responsible for any inaccuracy of the data in the lists. To report any inaccuracy or your business (if you own the business in question), please write to info@scegliauto.com
Number of seconds to generate the page: 0.315
(c) ScegliAuto 2026 - info@scegliauto.com - Privacy policy VAT number: IT01247470535 |
