
|
Do it yourself
| |||
| ||||


Painting the Front Bumper
Model: Hyundai Sonata
- Years:
2004, 2005, 2006, 2007, 2008, 2009, 2010, 2011, 2012, 2013, 2014
Video tutorial
Bodywork parts are usually sold with a rough finish and are therefore unpainted. In this case, we have a black front bumper. If desired, it can be sanded with fine wet sandpaper or simply cleaned with a suitable cloth soaked in a solution that removes any dirt. Once the piece is clean and dry, proceed to paint in a suitably ventilated area, free from dust, always wearing the necessary protective gear. It is advisable to filter the paint to eliminate any impurities. Additionally, it is recommended to spray the paint in multiple passes and intervals with light coats, avoiding excessive application to prevent runs or other defects. Finally, spray the clear protective paint until the optimal finish level is achieved. Car model: Hyundai Sonata Required tools: compressor, spray gun.
Updated on 20 February 2026 by ScegliAuto
Related tutorials
Hyundai Sonata
(2010-2015 /
MK 6, YF)
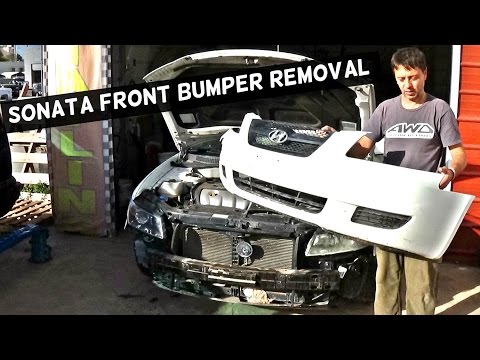
You can remove the front bumper of the Hyundai Sonata by opening the bonnet to access the components at the top of the bumper: here, you can loosen t…
Hyundai Sonata
(2004-2014 /
)
Removing the front bumper is very simple and does not require disassembling any other components: it is essentially a cover, almost like a fairing, o…

Hyundai Sonata
(2010-2015 /
MK 6, YF)
This guide shows you how to remove and replace the front headlamp of the Hyundai Sonata by following these simple steps. First, open the bonnet of th…
Other guides you may be interested in
|
How to Remove the Rear Seat of a Hyundai Tucson?
To remove the rear seat of a Hyundai Tucson, follow these steps. Start by moving the front seats to their most forward position to gain space. Next, locate the release lever on the underside of the rear seat, near the floor. Press this lever down while pulling the seat upwards to unlock it from the anchor pins. Once unlocked, tilt the seat upwards and forwards to remove it from its position. Repeat this process for both sides of the rear seat. Be careful of any electrical cables or components that may be connected to the seat during removal. Once the rear seat is removed, the disassembly is complete. by ScegliAuto More videos
|
|
For advertising on this site Write to info@scegliauto.com
ScegliAuto is not responsible for any inaccuracy of the data in the lists. To report any inaccuracy or your business (if you own the business in question), please write to info@scegliauto.com
Number of seconds to generate the page: 0.029
(c) ScegliAuto 2026 - info@scegliauto.com - Privacy policy VAT number: IT01247470535 |
