
|
Do it yourself
| |||
| ||||


Replacing the Lambda Sensor of the Hyundai Elantra
Model: Hyundai Elantra
XD, MK 3
- Years 2000-2006
Today, we will go through the instructions to remove and replace the lambda sensor of the Hyundai Elantra; the fault is indicated by the warning light on the dashboard. First, open the bonnet and remove the protective plastic cover; then, unscrew the lambda sensor fixed to the exhaust manifold using a socket spanner, as shown in the video. At this point, install the new lambda sensor or oxygen sensor, screwing it in by hand before tightening with a spanner; connect the electrical connector of the sensor!
Updated on 20 August 2026 by ScegliAuto
Video tutorial
Related tutorials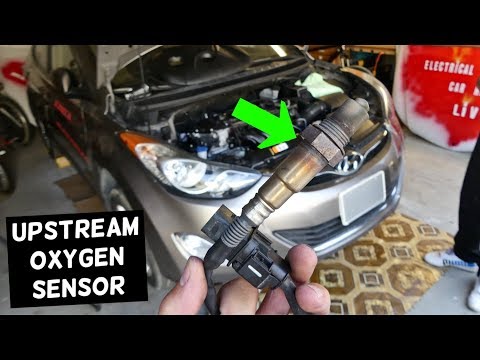
Hyundai Elantra
(2006-2010 /
MK 4, HD)
Let's see in this video how to replace the Lambda sensor on a Hyundai Elantra. Pull the engine compartment release lever located at the bottom left o…
Hyundai Elantra
(1995-2000 /
J2, MK 2)
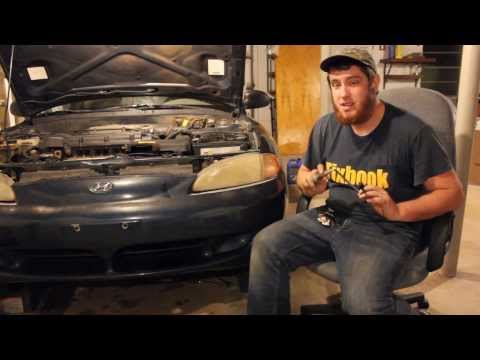
The oxygen sensor, better known as the lambda sensor, functions to detect the oxygen level present in the exhaust gases and provide this information …
Hyundai Elantra
(2010-2015 /
MD, UD, MK 5)
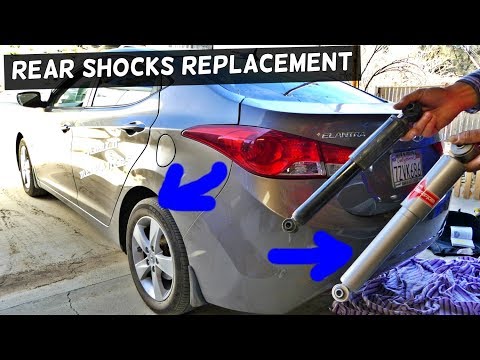
This guide covers the main steps to dismantle and replace the rear suspension on a Hyundai Elantra. First, raise the vehicle and then remove the rear…
Other guides you may be interested in
|
How to Reset the Tyre Pressure Light on the Opel Grandland X
While driving, if you notice the tyre pressure warning light coming on, first check the actual inflation pressure of the tyres and, if necessary, restore the pressures recommended by the manufacturer. After restoring the correct pressures, you need to reset the warning light that has illuminated on the instrument cluster. To do this, locate the reset button on the lower central console. Press this button and hold it down for at least 3 seconds, after which the low pressure indication will turn off. by ScegliAuto More videos
|
|
For advertising on this site Write to info@scegliauto.com
ScegliAuto is not responsible for any inaccuracy of the data in the lists. To report any inaccuracy or your business (if you own the business in question), please write to info@scegliauto.com
Number of seconds to generate the page: 0.061
(c) ScegliAuto 2026 - info@scegliauto.com - Privacy policy VAT number: IT01247470535 |
