
|
Do it yourself
| |||
| ||||


Video tutorial
Today, you will learn how to independently restore the headlights of the Jaguar XK. To carry out the restoration work, you will need wet and dry sandpaper, model P1200, and polish model 09374 from 3M. Open the bonnet and cover the bodywork around the headlight with masking tape to avoid damage. Soak the sandpaper in hot water, which you will use for the restoration work. Spray water on the headlight and start using the sandpaper around the entire perimeter of the headlight. After the necessary time, clean with a microfiber cloth and repeat the process using a different grit of sandpaper. Clean again with a microfiber cloth and start applying the polish to the headlight. At the end of the operation, remove the masking tape.
Posted on 12 July 2026 by ScegliAuto
Related tutorials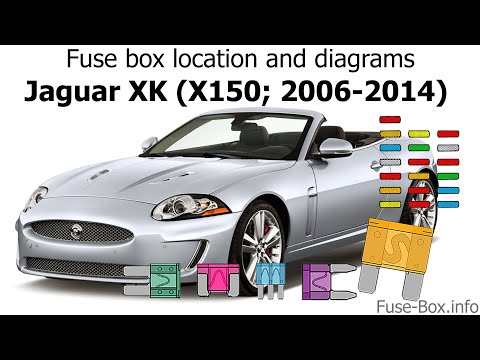
Jaguar Xk
(1996-2006 /
MK 1)
If you want to locate the box that contains all the various fuses of your Jaguar XK, just pay attention to the following guide and follow the describ…
Jaguar Xk
(1996-2006 /
MK 1)
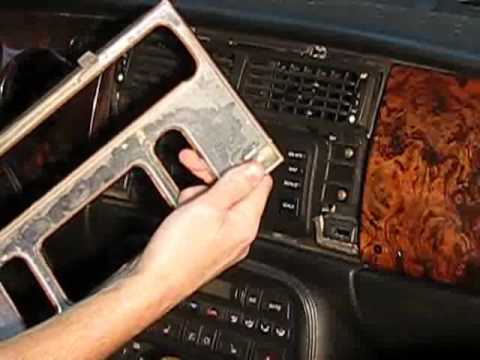
In this video, we will see the steps to dismantle the frame of the centre console on a Jaguar XK8, following these simple instructions. First, get in…

Jaguar Xk
(2006-2014 /
MK 2)
If you own a Jaguar XK8 (year 2010) and want to replace the battery inside the key yourself, all you have to do is read the following guide and apply…
Other guides you may be interested in
|
How to Remove the Rear Seat of a Hyundai Tucson?
To remove the rear seat of a Hyundai Tucson, follow these steps. Start by moving the front seats to their most forward position to gain space. Next, locate the release lever on the underside of the rear seat, near the floor. Press this lever down while pulling the seat upwards to unlock it from the anchor pins. Once unlocked, tilt the seat upwards and forwards to remove it from its position. Repeat this process for both sides of the rear seat. Be careful of any electrical cables or components that may be connected to the seat during removal. Once the rear seat is removed, the disassembly is complete. by ScegliAuto More videos
|
|
For advertising on this site Write to info@scegliauto.com
ScegliAuto is not responsible for any inaccuracy of the data in the lists. To report any inaccuracy or your business (if you own the business in question), please write to info@scegliauto.com
Number of seconds to generate the page: 0.034
(c) ScegliAuto 2026 - info@scegliauto.com - Privacy policy VAT number: IT01247470535 |
