
|
Do it yourself
| |||
| ||||


How to Remove the Cabin Heater Radiator
Model: Jeep Grand Cherokee
MK 2, WJ
- Years 1998-2004
In this video guide, although you won't see the actual disassembly of each individual component due to time constraints, you will understand and identify the key points to intervene and dismantle the necessary components. First, remove the centre console above the tunnel. Next, you need to remove the steering column. At this point, remove the entire dashboard. Once the dashboard is removed, you will have full access to the cabin's climate control system. As shown in the images, the rear part of the heating and ventilation system is displayed, which is fixed to the bulkhead separating the cabin from the engine compartment. Some screws need to be undone from the engine compartment while others are located under the dashboard. Note the pipes where the water circulates and the air conditioning drain pipe. Then, carefully observe all the dashboard's mounting points and the related wiring and connectors from the cabin side. Car model: Jeep Grand Cherokee Year: 1999
Updated on 12 February 2026 by ScegliAuto
Video tutorial
Related tutorials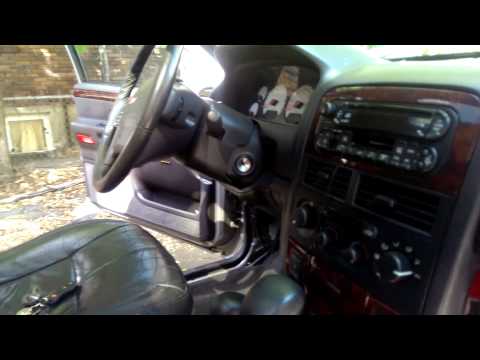
Jeep Grand Cherokee
(1998-2004 /
MK 2, WJ)
The heating system in a car operates through a device similar to a small radiator that blows warm air to heat the interior of the vehicle. It is advi…
Jeep Grand Cherokee
(1998-2004 /
MK 2, WJ)
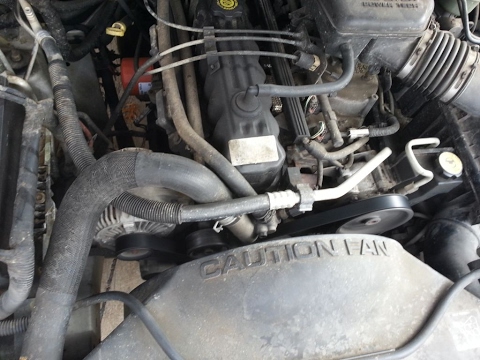
This video shows how to remove the timing belt from a Jeep Grand Cherokee. Lift the front bonnet of the car; remove the plastic engine cover and bump…

Jeep Grand Cherokee
(1998-2004 /
MK 2, WJ)
To replace the heater radiator, you need good general mechanical knowledge and, above all, a lot of patience, as it will be necessary to dismantle al…
Other guides you may be interested in
|
How to Check the Oil Level on a Jeep Renegade?
To check the oil level on a Jeep Renegade, you need to open the bonnet to access the components inside the engine bay: on the lower left side of the engine block, you will find the dipstick for checking the level. This should be pulled out and thoroughly cleaned with a cloth: once cleaned, reinsert it back into its tube and pull it out immediately after. This way, you can check that the oil mark is between the minimum and maximum levels; finally, you can place the dipstick back in its tube. by ScegliAuto More videos
|
|
For advertising on this site Write to info@scegliauto.com
ScegliAuto is not responsible for any inaccuracy of the data in the lists. To report any inaccuracy or your business (if you own the business in question), please write to info@scegliauto.com
Number of seconds to generate the page: 0.429
(c) ScegliAuto 2026 - info@scegliauto.com - Privacy policy VAT number: IT01247470535 |
