
|
Do it yourself
| |||
| ||||


Air Conditioning Compressor Replacement
Model: Mazda 3
BK, MK 1
- Years:
2003, 2004, 2005, 2006, 2007, 2008, 2009
Video tutorial
To replace the air conditioning compressor, lift the vehicle on a hydraulic lift as the compressor is located at the bottom of the engine bay. Once the plastic cover and the wheel arch liner are removed, the compressor is immediately visible next to the oil sump; if you intend to replace the drive belt as well, you can cut it to facilitate removal. Remove the pulley guard secured by bolts; disconnect the high and low-pressure pipes (before doing this, it is advisable to recover the gas and oil with the appropriate equipment) and the activation connector. Then, unscrew the compressor mounting bolts and remove it from its location. Apply new O-rings to the pipes, lubricating them with grease, install the new compressor (you may also opt for a refurbished product), working in reverse order, and at the end of the installation, fit a new belt. Finally, use the appropriate equipment to vacuum the system, recharge the gas, and then the compressor lubrication oil, rather than using a canister for gas recharge as shown in the video. The specific tool will also allow you to test the efficiency of the system. If necessary, also replace the condenser: it is the cylindrical unit located next to the air conditioning radiator.
Updated on 10 February 2026 by ScegliAuto
Related tutorials
Mazda 3
(2003-2009 /
BK, MK 1)
This guide shows how to replace the air conditioning drive belt. Once you locate the belt, check if it needs replacing; if it is worn, you can cut it…
Mazda 3
(2009-2013 /
BL, MK 2)
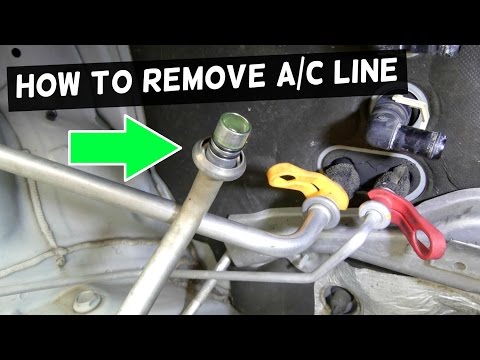
The pipes that transport refrigerant gas in the air conditioning system have a unique fastening system at the connection points. It is a type of quic…

Mazda 3
(2003-2009 /
BK, MK 1)
In this tutorial, you can see how to remove the climate control console in the Mazda 3, a very simple and quick operation. First, ensure that the key…
Other guides you may be interested in
|
How to Open the Fuel Filler Flap in the Hyundai i30?
In this tutorial, you will learn how to open the fuel filler flap in the Hyundai i30, a very simple operation that follows the typical procedure of most vehicles. First, unlock the locks using the designated button on the remote, then open the driver's door, locate the release lever on the left side of the seat, and operate it. Next, move to the fuel filler flap, open it completely, unscrew the cap, and refuel as needed. To close the flap, simply press it gently. by ScegliAuto More videos
|
|
For advertising on this site Write to info@scegliauto.com
ScegliAuto is not responsible for any inaccuracy of the data in the lists. To report any inaccuracy or your business (if you own the business in question), please write to info@scegliauto.com
Number of seconds to generate the page: 0.045
(c) ScegliAuto 2026 - info@scegliauto.com - Privacy policy VAT number: IT01247470535 |
